Front Wheel Bearings
Note this simplified process only works if the balljoint and strut are not corroded onto the hub - otherwise you will have to take it apart as shown here
Replacing Front Wheel Bearings
The hub can be removed after taking off the brake calliper and disc and separating the hub from the strut and balljoint. The bearing then needs to be pressed out and the new bearing pressed in - this is best left to a garage with a strong press - do NOT ever try to hammer a bearing into place!
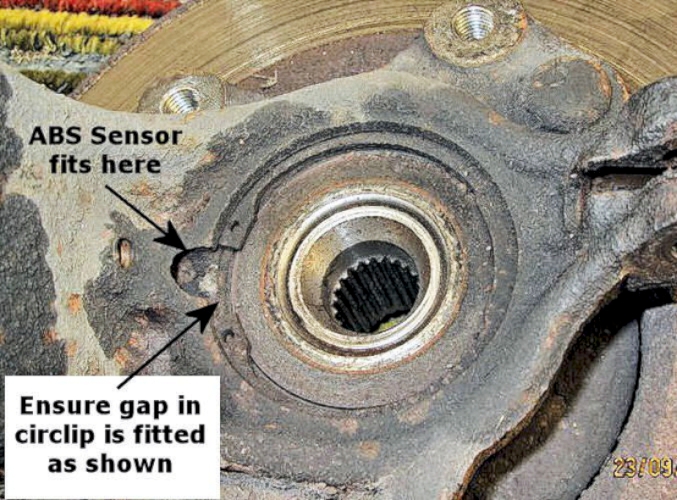
when replacing the wheel bearing note there should be a magnetic reluctance ring on one end which activates the ABS sensor - it is all too easy to assemble it the wrong way around and some cheaper bearings don't have the reluctance ring.
Also do check the circlip isn't obstructing the clear view the ABS sensor has of the reluctance ring.
Normal testing methods may not work as the resistance is variable and polarity concious. The sensor is a Hall Effect sensor reacting to the magnetic field from the reluctance ring. I tried measuring one of my spares but couldn't get any sense out of it! It depends on the voltage too - a digital ohmmeter works at lower voltage than an old fashioned analogue meter.

It can be very difficult to get the hub off the strut because the parts corrode together. It can also be very difficult to separate the balljoint from the hub.
If they can't be separated you will have to remove the strut and hub as a single unit and then separate them on the bench. (see here)

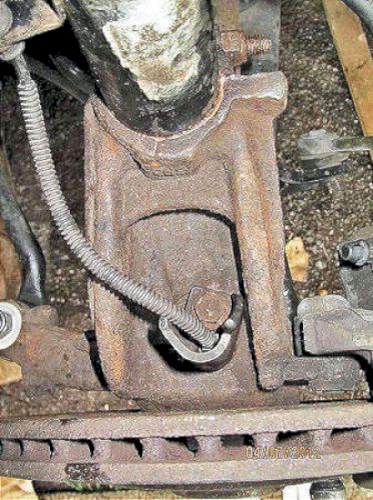
Note there is a locating tang (conveniently out of sight when the strut is on the car; use a mirror to check!) which should locate well down into the clamp on the hub assembly.
also note that the special bolt used has a square head to stop it turning when the nut is being tightened.
after reading the notes above - start the job here!
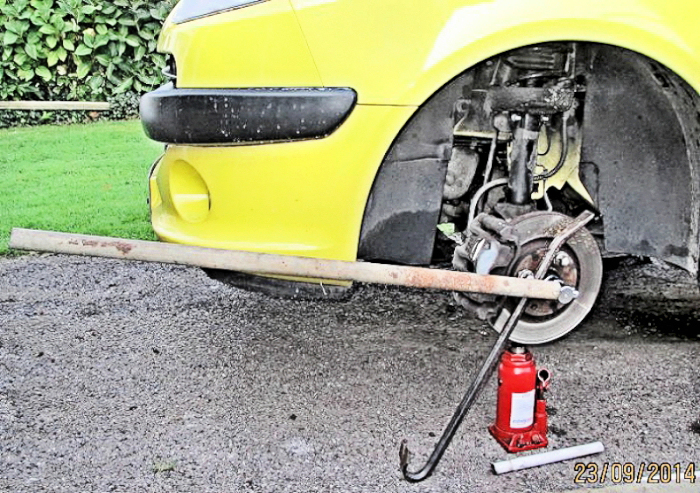
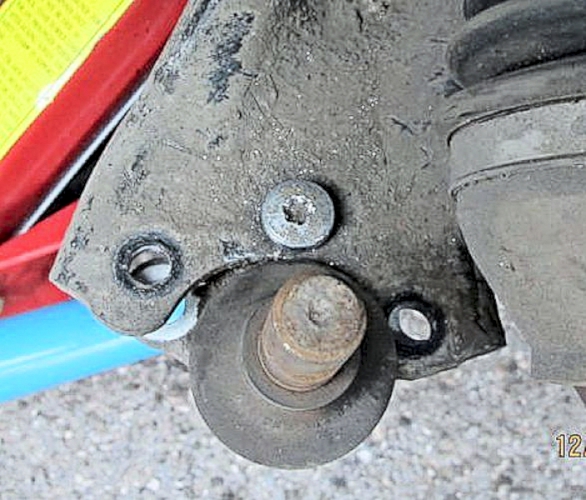
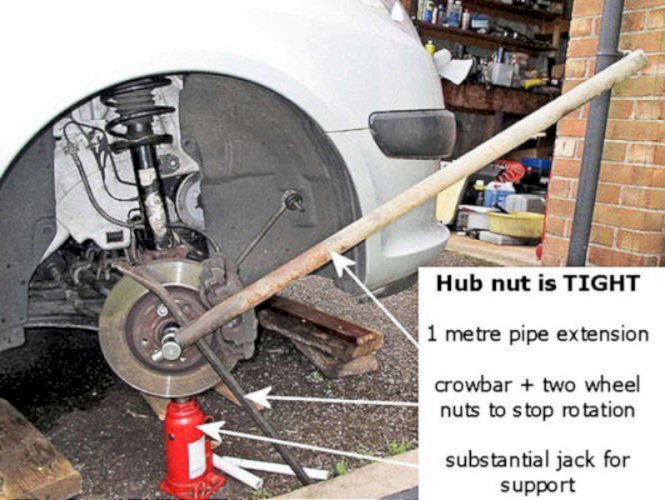
First - remove the hub nut - it should need unstaking first.
As it is done up extremely tightly, I used a 30mm ¾" socket on mine helped by a 1 metre extension pipe. The hub was locked from rotating by a long crowbar whilst the hub was supported by a bottle jack.
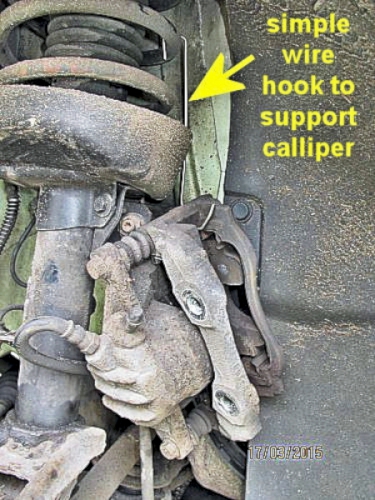
Remove the brake calliper complete and hang it out of the way on a made-up wire hook from one of the spring coils. The torx55 bolts are VERY tight; make sure you have a very strong ½" drive torx socket before starting.
Remove the brake disc (two countersunk screws)
The ABS sensor is a tight fit in the hole after removing the securing bolt - lever up carefully using two screwdrivers!
Remove the nut from the track-rod end. I maintained pressure on the track-rod end into the hub hole with a jack to prevent the shaft turning to remove the nut and then used a balljoint separator.
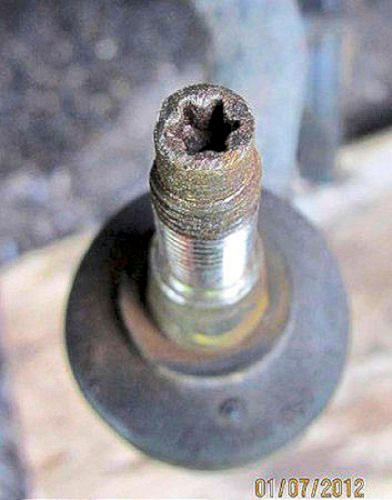
Use a wire brush followed by a thread file (or better, an M10 x 1.25 pitch die chaser) to clean up the threads
I had changed the springs two years ago and oiled the joints on reassembly so I was able to undo and remove the clamping nut and bolt from the lower balljoint easily - they can corrode into position so have new ones handy. Part numbers are 692191 & 362230

This tool for a ½" socket is simple and effective; rotate to open up the joint. e.g. the larger of these two

Bergen make this 1.2m Wishbone Bottom Arm Lever Control Removal Tool which is adjustable and fits our suspension well.
Using this tool to pull down the wishbone, the lower balljoint should slide out of the hub quite easily. If it doesn't, then you will need to use some violence to get the two parts to separate.
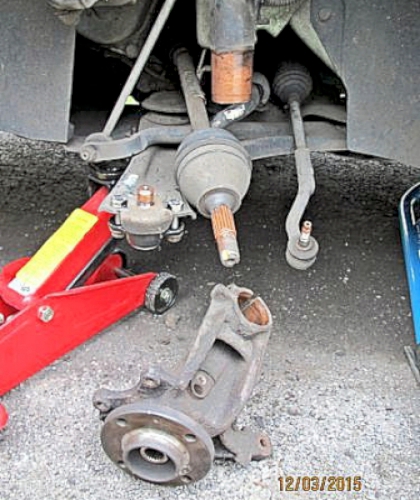
At this stage, it should be possible to pull the hub off the drive shaft WHILST ENSURING THE DRIVE SHAFT REMAINS PUSHED HOME INTO THE FINAL DRIVE - or there will be oil everywhere and you will have to refill the gearbox
Remove the bolt holding the strut to the hub. Swing the hub/strut assembly outward and, using a hammer, remove the hub downwards from the strut.

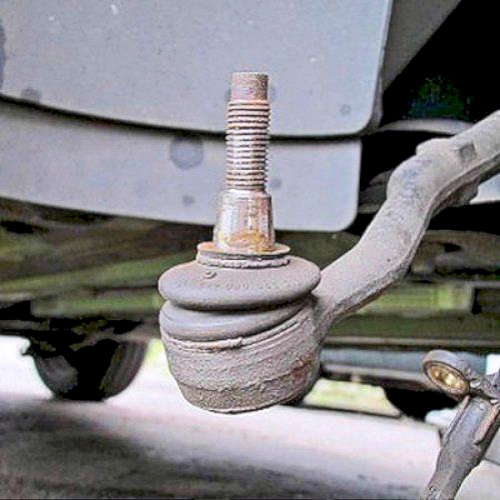
despite oiling on reassembly two years ago, the dryness and surface rust on the driveshaft, track rod end and lower balljoint can be seen. But at least the parts separated fairly easily so the oil had done its work.
at this stage, you may decide to change the balljoint by removing the three nuts and torx bolts. The torx40 may not be strong enough to hold the (corroded) bolts from turning so I had to use a cutting wheel to remove one bolt.
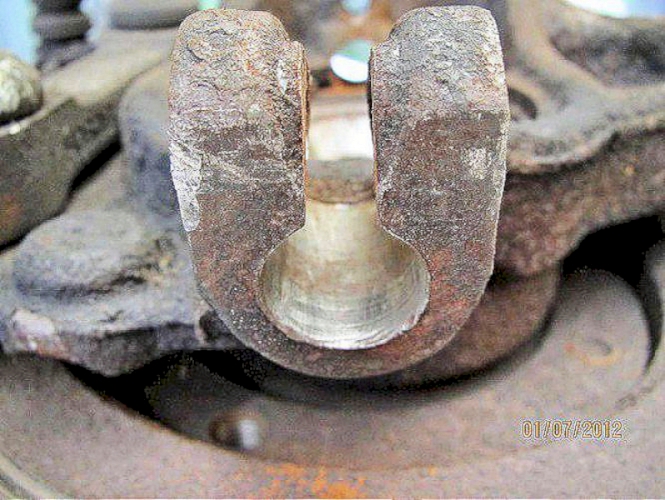
Clean and de-rust the clamp surfaces in the hub.
The old bearing now needs to be pressed out and the new bearing pressed in - this is best left to a garage with a strong press - do NOT ever try to hammer a bearing into place!
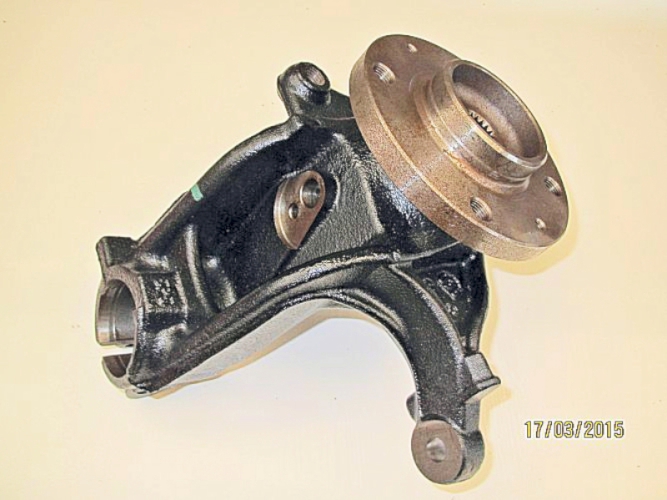
You may like to know that Peugeot can supply completely new, assembled hubs. However cost is £264 unless you can find a cheaper one on ebay.
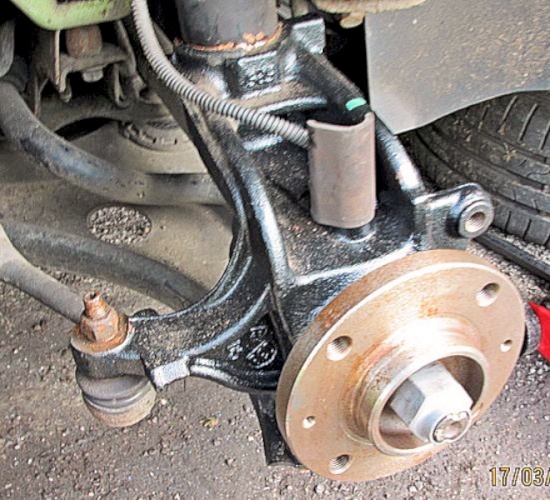
and here it is installed on the driver's side of my green car
Reassembly is the reverse of dismantling. Use copperease on the strut and balljoint clamps to aid assembly (and possible future disassembly).
TIP: either disconnect the drop link or use a jack to enable some compression of the spring. Makes it easier to get the parts together, though they will still fight you!
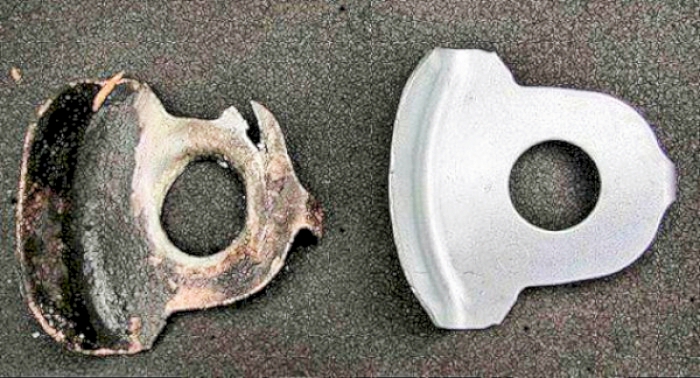
On reassembly, don't forget to replace the balljoint protector.
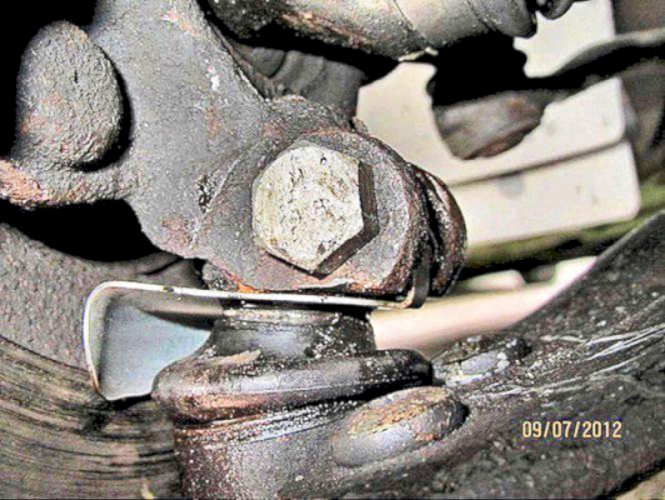
this is how it should fit, with the locating tang located in the split in the clamp.
On replacing (as in the pictures), always use a new nut. Once fully tightened - front axle nut torque - 24 m.daN - TIGHT!. Again a ¾" 30mm socket and 1 metre extension on the bar seems to make it tight enough. The nut should be staked in two places to prevent it from undoing - to do this it needs hitting quite hard with a blunt but strong chisel!
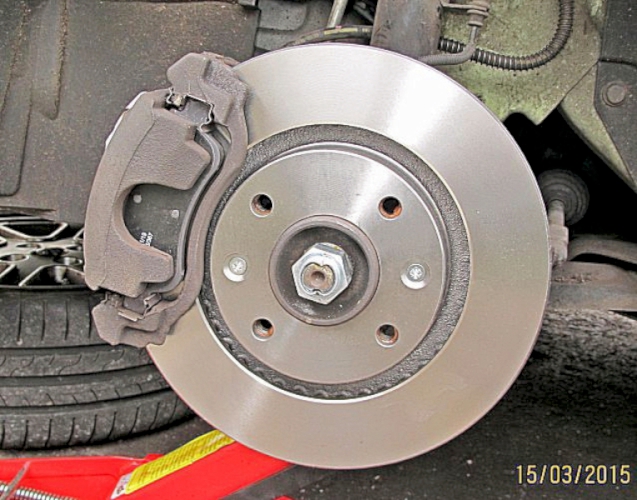
and the new brake disc and pads finishes the job off
