Fitting XJ40 Instruments
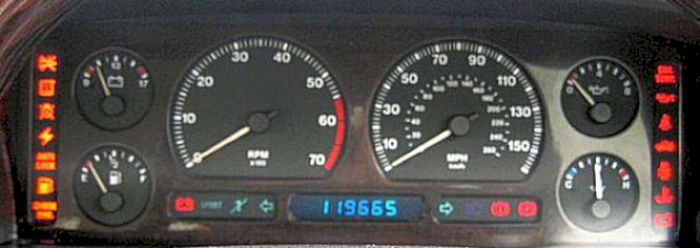
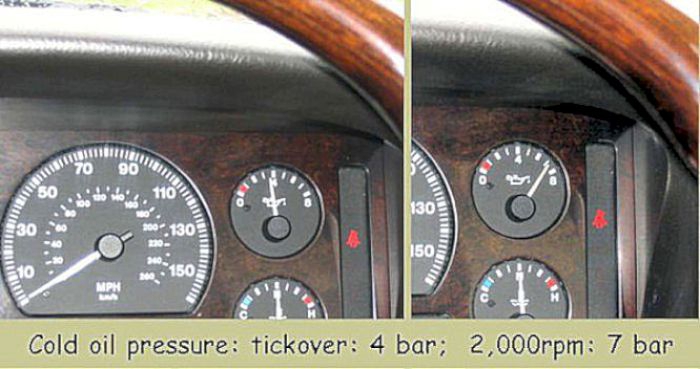
This is in order to achieve XJ40 real-time linear oil and water temperature gauges instead of the Mickey Mouse X300 gauges

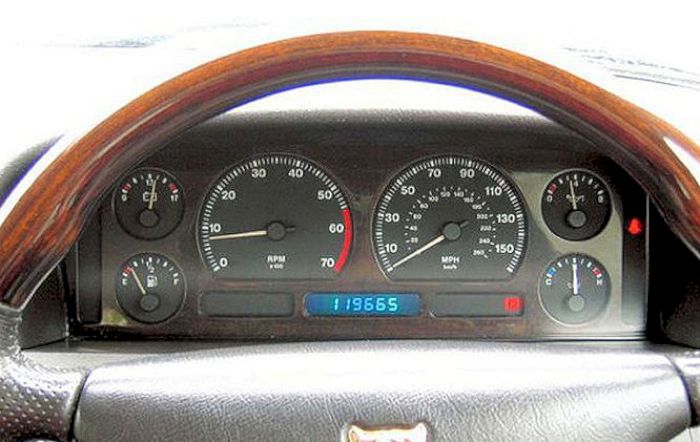
The X300 has a similar Instrument Panel to the XJ40 - they are physically identical and can be retrofitted.
BUT the electronics have a number of differences - and the older XJ40 driver enjoys a linear oil gauge meter that has been denied to X300 owners.

Although the meters now work properly after replacing the oil pressure switch (LNA5642) with an XJ40 transducer (DBC5513), there are issues with the different warning light arrangements - some functions have been deleted and others have been changed.
Before VIN 746613 they changed the sender unit to a switch and resistor when a customer complained - the resistor made the meter read half-scale on an unmodified instrument cluster. IF you have an instrument cluster from one of these it should be possible to revert to the original DBC5513 sender unit.
In theory, the VERY early X300 instrument panel (VIN before 746613) that has a resistor on the oil pressure switch could be retrofitted with a DBC5513 sender unit. If your VIN is after 746613, forget it as they reprogrammed the instrument cluster to accept only the simple switch.

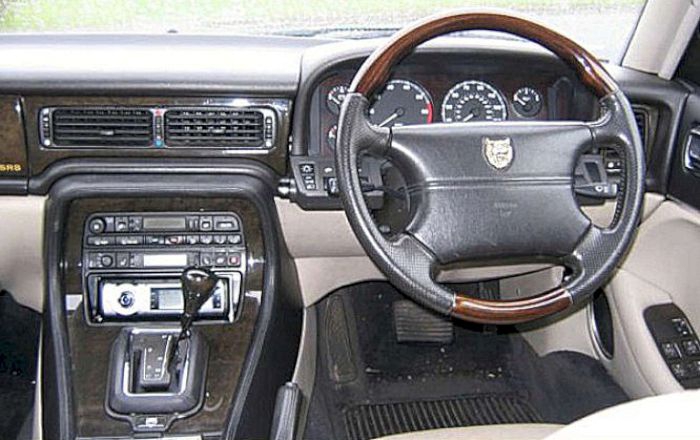
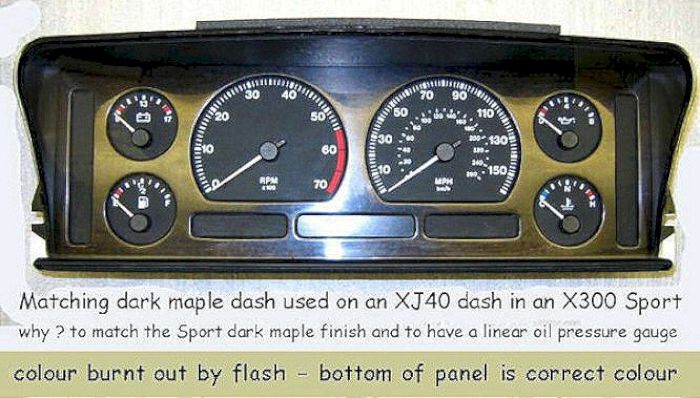
Whilst everything was apart, I took the opportunity to install a veneered dark maple dash insert, steering wheel and gear knob to match the dark wood finishes of the Sport.
Oddly, Jaguar didn't match up the finishes of the Sport models so this Sport is now unique!
The preliminaries
You will need: a spare XJ40 instrument pod and plenty of patience
To remove the X300 instrument pod:
- remove the under-dash cover on the driver's side
- undo 2 screws and 2 self-tappers to release the instrument pod - these screw upwards into the bottom of the instrument panel - easy access from under the dash.
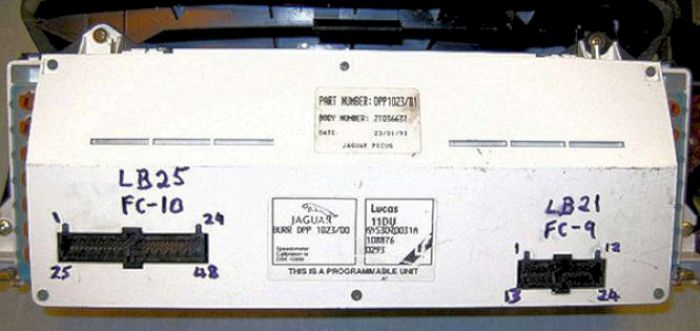
- pull out the instrument pod a little way and unclip the two multi-way connectors on the back.
- remove the pod (lowering the steering wheel will make it easier) - there is no need to remove the steering wheel.

I marked up the back to avoid confusion with the connectors and pin numbers. Note that, although the connectors are physically identical, they have been given different circuit numbers on the XJ40 and X300 models.
Although the direct replacement of an X300 instrument pod by an XJ40 pod works, a number of alarm and warning lamps stay on when driving. It would be possible to simply take the bulbs out - but this would become obvious when the test cycle was initiated so I set about making the indications appear normal:
Dismantling the XJ40 pod: it would be sensible not to dismantle your original X300 pod just in case it has to go back in!

If you have got this far you will find taking the pod apart very simple. I took the opportunity to fit a specially-veneered instrument mask which matches the Sport woodwork. The additional thickness required a little filing of the clear plastic mounting clips to allow it to clip back in place.

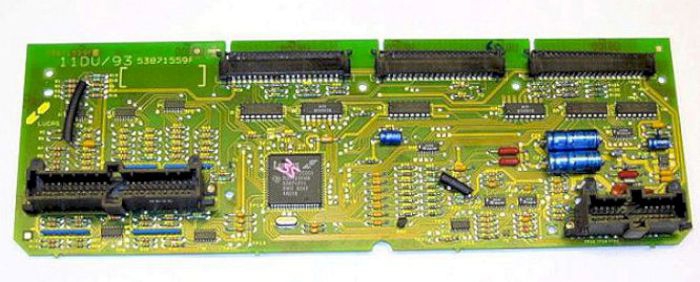
Remove the white plastic back (6 torx or posidrive screws) to reveal the printed circuit board. I marked mine as a guide to identify the socket and pins.
If you are unsure of what happens next, STOP AT THIS POINT!
The modifications
Lacking a circuit diagram, I first mapped out every pin on the two connectors; what they connected to and what signals they received from the car itself. I used the relevant JDHT CD's ---> note current ones are DVD's if you have an old computer
No guarantee that this will work 100% on your X300 but this is what I did - after careful checking and a not a little trial and error. Where it says o/c (open-circuit) - I identified and then cut the track to isolate the pin.
Don't try this unless you know what you are doing - this is a guide only and you should check it out yourself before committing the soldering iron!
Socket LB21
- o/c pin 7; add 33k between +12v and the disconnected track - pulls up and switches off anti-lock bulb
- o/c pin 45 (this was the airbag fail feed, not used); connect pin 2 (+12v) to LB25 pins 19 and 45 - +12v supply
Socket LB25
- o/c pin 9; earth disconnected track - switch off low brake pressure warning (no pressure reservoir on X300)
- real pin 9 connect to LB21 pin 18 - alternator charging indication
- o/c pin 12; connect real pin 12 to pin 30 - trip reset
- o/c pin 36; connect real pin 36 to pin 29 - trip clear
- connect pin 2 to pin 3 - speed output pulse
- connect pin 7 to pin 34 - pad wear sensor circuit (not used on X300)
- o/c real pins 35; 36; 8; 12 - an earth on one of these would have brought on the circuit light warning - not used on X300
- o/c pin 10 - fluid level switch - had to be disconnected as the X300 normally gives an earth; the XJ40 normally gives an o/c
as you will see from the above, I have lost the brake fluid level alarm and also the airbag fail alarm - otherwise all as normal with the bonus of proper reading oil pressure and water temperature gauges. All bulbs come on test with the ignition and then go out after a few seconds.
reassemble and reinstall (several times until I got it right) as they say.

test cycle after switching on - all bulbs illuminated and then extinguish after a few seconds (forgot to put on safety belt and release handbrake)
But having proved that it could be done and running the car for a few days, I found some inconsistencies had arisen elsewhere in the car. Can't explain why:
- the boot button stopped working
- the reset button temporarily killed the display but didn't actually reset the readings
- there was no "coolant output" to the a/c unit which then threw up a code
- also the aspirator threw up a code (might be a coincidence)
all the above cleared by returning the original X300 instrument panel
