Rear Bumper Repair
BEFORE STARTING THE JOB:
Do make absolutely certain the car is securely supported. Soak the two mounting bolts in PB Blaster overnight if you are to have a sporting chance of actually removing the two bolts without the captive nut turning in the bumper. If it does then you will have real problems getting the bumper off. Optional - use copper-ease or similar when reassembling so you can do the job easier NEXT time!
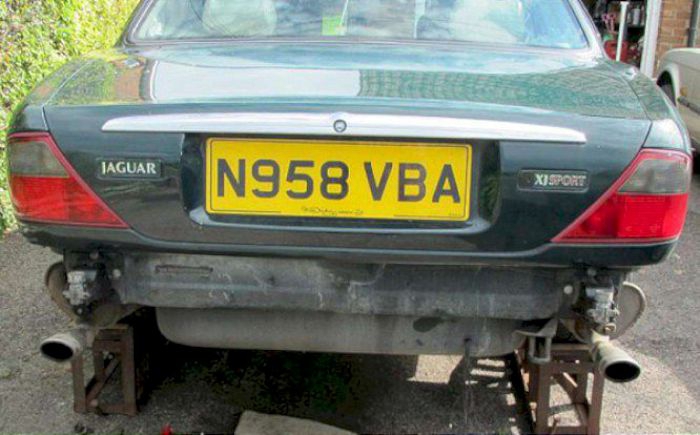
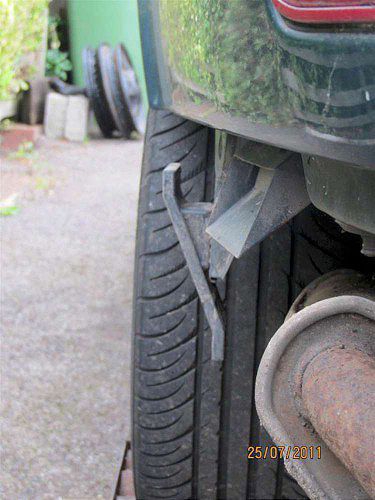
First thing to do is to get the rear of the car up on ramps so you can grovel underneath. The bumper is held quite simply by just two long bolts, heads are accessed from underneath (hence the ramps) and need an extension on the socket as they only JUST come out past the exhaust tail pipes.
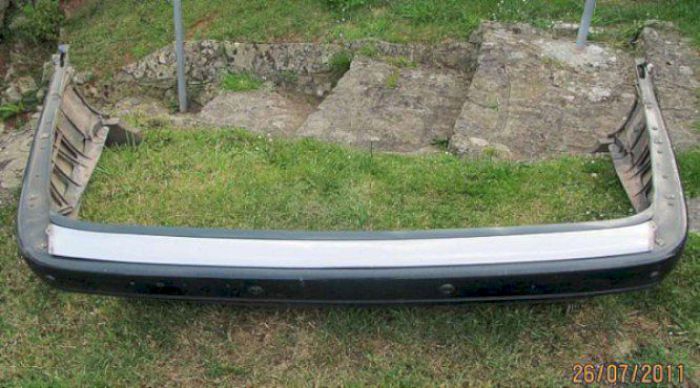
Once the bumper has been slid off, the side mounting supporting the wings of the bumper can be seen for the first time in 15 years!
Be careful releasing the two bolts (after allowing PB Blaster to soak in overnight) as they are likely to be very stiff. The combination of brass nut, steel bolt and aluminium mounting just make for corrosion and there is every chance that the brass nut will break free out of the moulded compartment if corrosion has really taken hold. Although quite substantial, once undone, gravity may require some help to get them out.

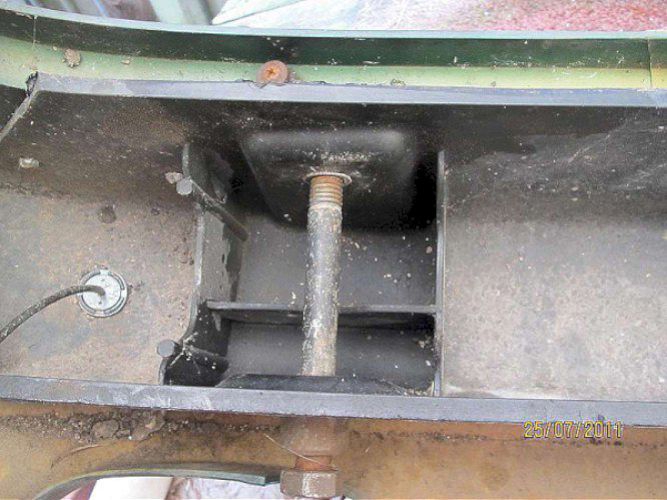
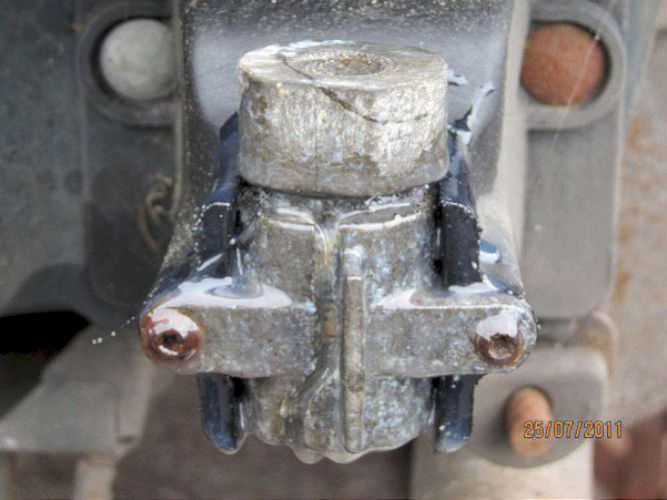
The aluminium mounting itself corrodes badly - new mounts are still obtainable - and are held by four nuts - two accessed underneath and two under the trim in the boot. The pictures taken on the bench show the bolt going up through the bumper to the brass nut - and how it goes together on the car using a spare mounting
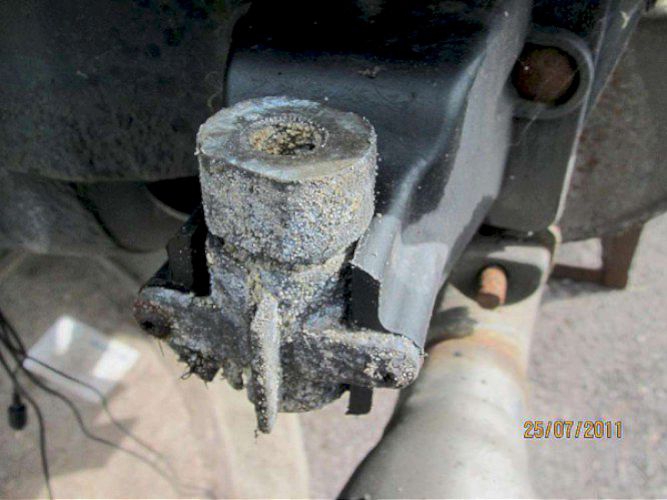
One of the original bumper mounts - looks worse than it is, with much surface corrosion . . . . . . . .
. . . . . . . . . and after receiving a coating of Araldite to reduce future corrosion.
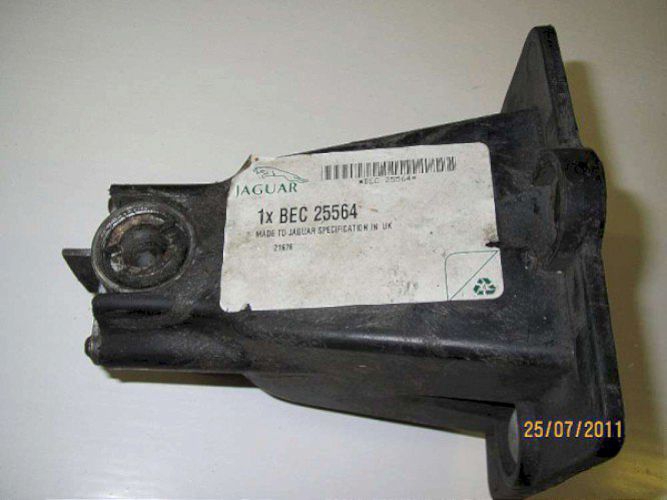
Pictures of a new mount - not needed in this case (note one of the bolts is missing).
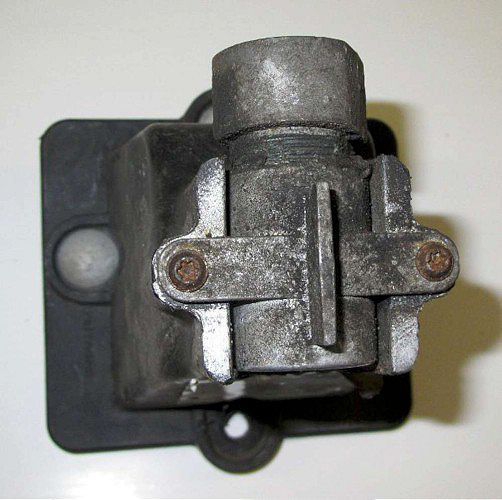
Fine up and down adjustment of the bumper is by means of the threaded collar in the mount.
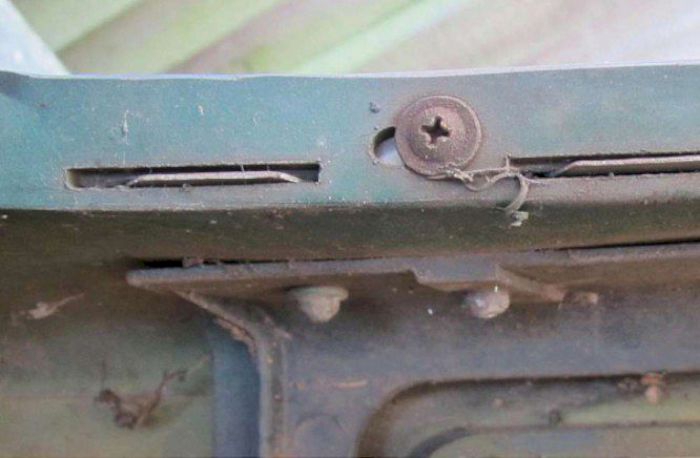
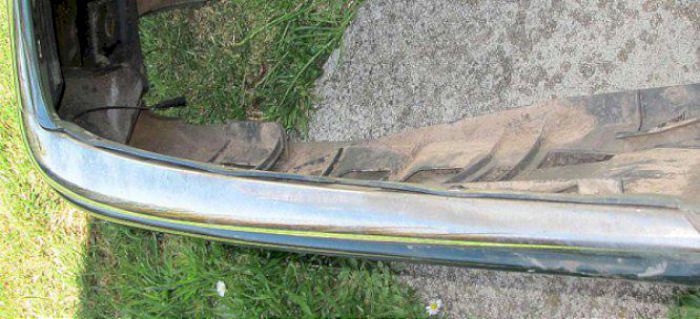
With the bumper now on the bench (or maybe on the lawn) - undo many screws like this to release the stainless steel trims.
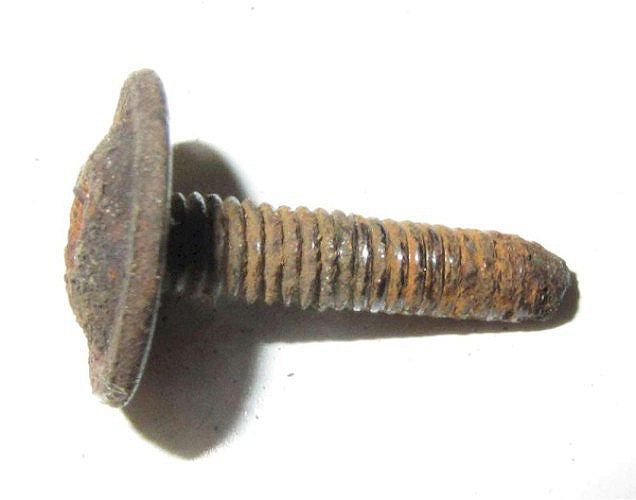
The screws are of a type I haven't seen before - but they undid OK. As they were rusty I replaced with self-tapping screws.
The stainless steel trims are held in place by tangs through the plastic close to the screws and by spring clips at the outer edges.
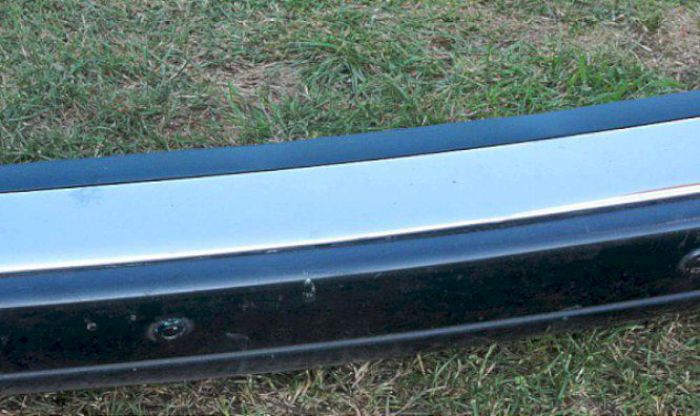
The centre trim was refitted - the kink has gone and it is properly back in its clips :-))
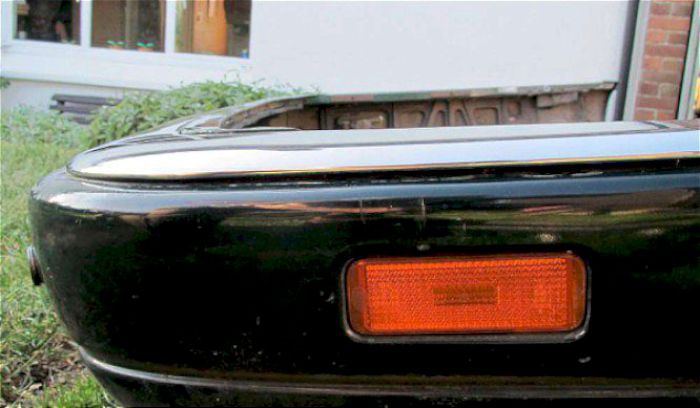
Not so with the side pieces: the screws pull the trims so the tangs engage in the slots; at the same time hidden tangs under the outer edges slot into spring clips.
No longer perfectly straight, the edges of the plastic have distorted and relaxed so eventually the side pieces wouldn't clip into the spring clips.

These outer spring clips are well secured to the plastic but it becomes harder for the tangs to locate under them as the plastic ages.

This is how the side pieces look when off the bumper.
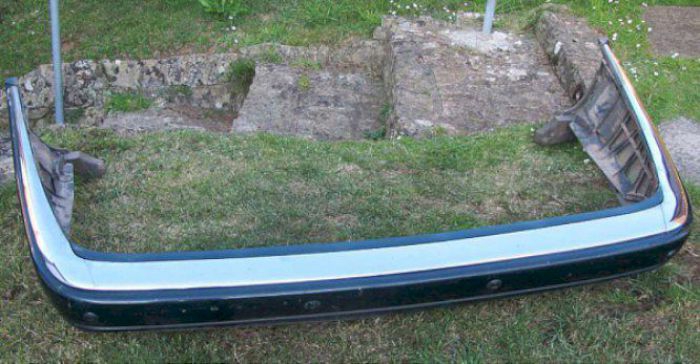
Ready to go back on the car; the whole assembly slid easily back into position on the car after applying anti-seize to the nut and the mounting.
However it took me two hours (with rests and muttering) to insert the two holding bolts into the back bumper. Would they line up? and of course you can't see what you are doing up there! In the end I put points on the bolts and lined them up that way! What a relief when they bit and I was able to do them up.