
Boot & Fuel Filler
December 2003:
The spare wheel compartment has been painted at some time to cover up rust!
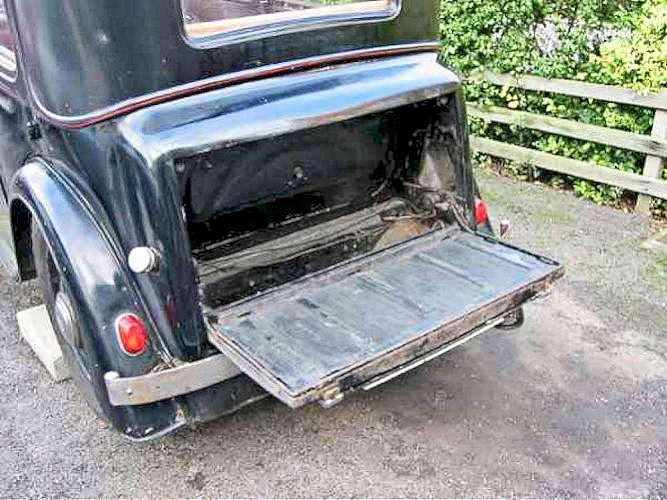
The bootlid mat is in very good condition
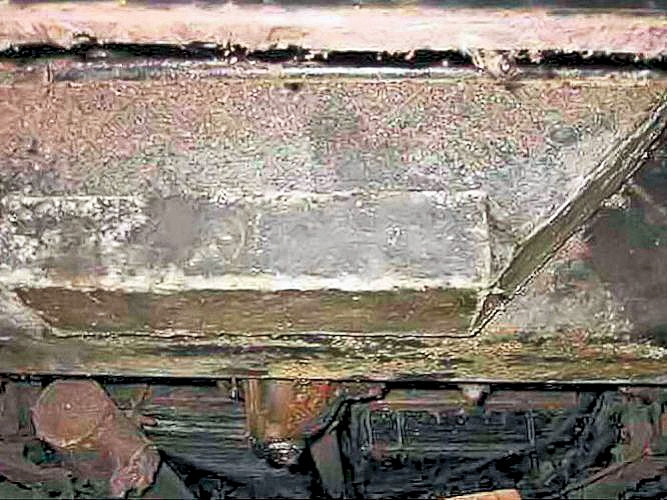
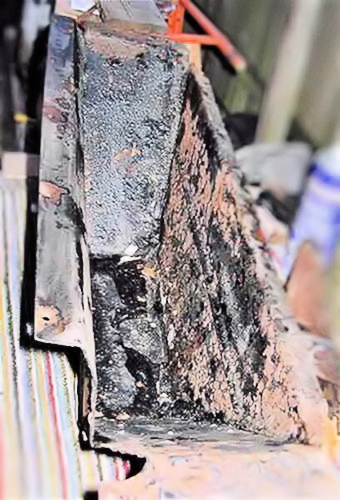
Fairly neat repair to the base of the spare wheel well - but no drain holes mean that the inside is rusty again!
Holes drilled to let the water out, but see below.
April 2004:
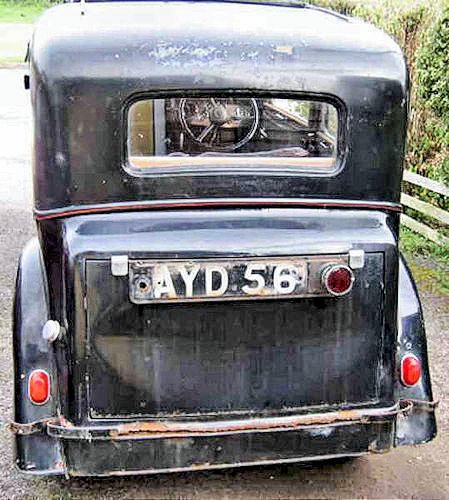
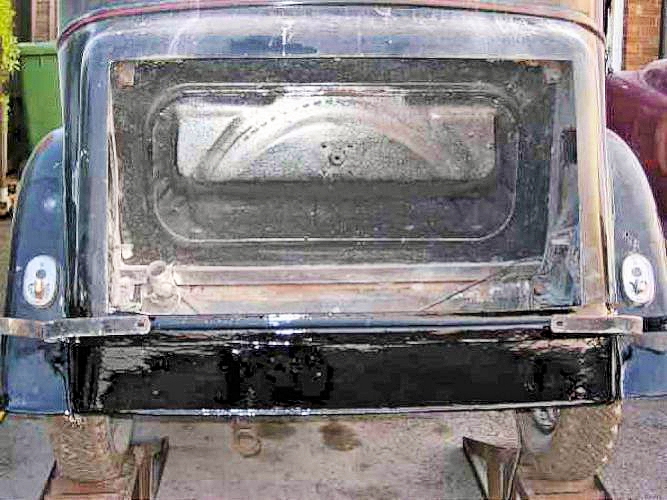
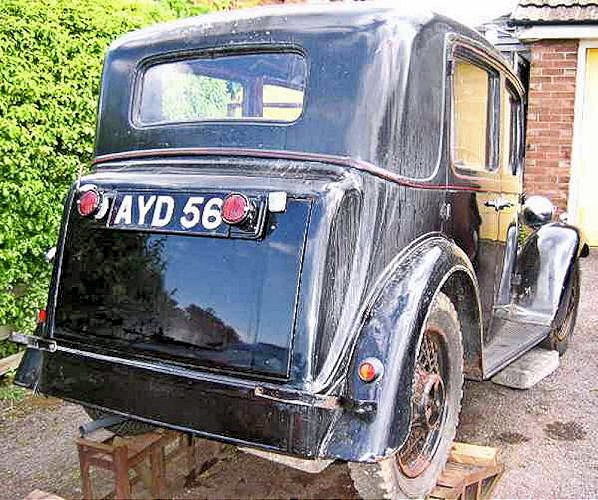
Back view - very nasty dent in boot (caused when the car was pushed into its shed many years ago by some clumsy people) rather spoils the look . . . . . . . . . but it popped out very easily.
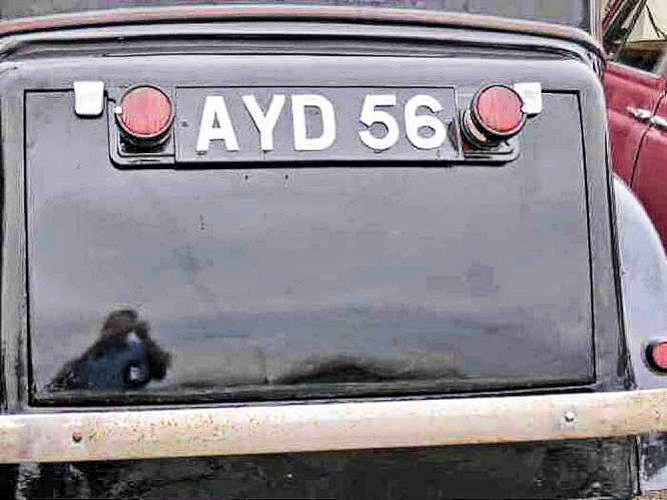
See that original painted numberplate - and (the only) rusty bit along the bottom of the back panel caused by lack of drainage of the three panels that meet at this point.
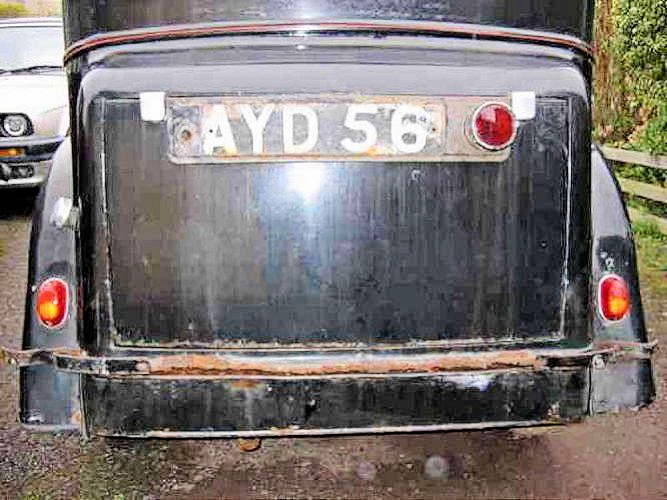
This is after the boot lid was popped out.

The boot lid was in good condition but it hid a lot of inaccessible rust so it was taken off after removing the petrol tank filler pipe for access to the nuts.

A new petrol filler grommet was sourced from Vintage Supplies Ltd who stock a huge range. For the 1935 Austin Ten, their part no 869.17 @ £6.25 seems to fit very well.
The spare wheel carrier was removed so the rust could be tackled and the visible parts were treated to Kurust and paint.

It all begins to look better with a bit of paint! Despite all this panel corrosion, the chassis underneath is excellent.
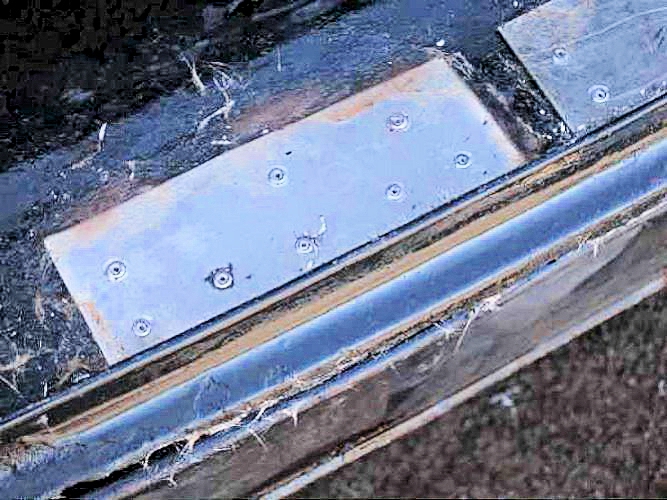
Reinforcing the rear panel - my usual method of using aluminium sheet and pop rivets smoothed and painted over.

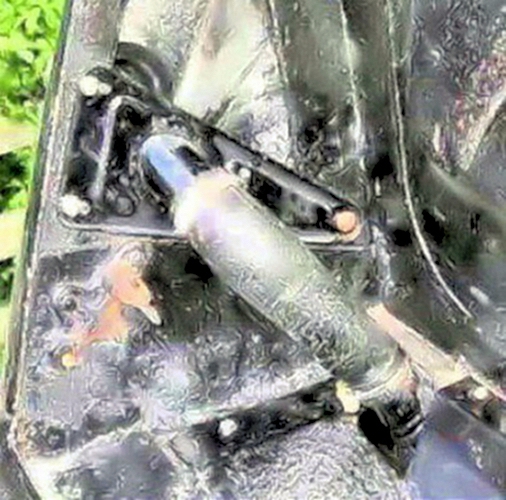
Tricky behind the bumper irons - but several days after any rain there was at least an egg-cup-full of water between two of the panels. Several panels meet at this point; the reason for rusting in the first place!
. . . . . . and the finished article is solid if not perfect
May 2004:
with the tank and spare wheel carrier back in position

the rear end looks complete apart from the boot lid!

The tank and light wiring was tidied up and a new earth connection made. The petrol level gauge wiring (sender unit AND earth wire) was brought out and connected at the connection box (rather than by direct wiring). This makes checking easier in case of sender unit or wiring failure.
Wiring of connection block is (from front of car)
1. brake lights
2. fuel gauge
3. side lights with a separate earth terminal alongside the connection box.

Boot lid reinstalled .... as there was a little inaccessible rust at the bottom of the lid, fibreglass resin was run into this area with the lid held vertical, to make a solid base to the lid.
and the almost finished article - the boot door with the dent and rust removed!
June 2004:
Careful - the bumper supports had been bent upwards slightly at one side and fouled the boot lid as it dropped down - a few seconds with a crowbar sorted this out! This is how it should look - this leaves about ½" clearance with the boot lid fully open.
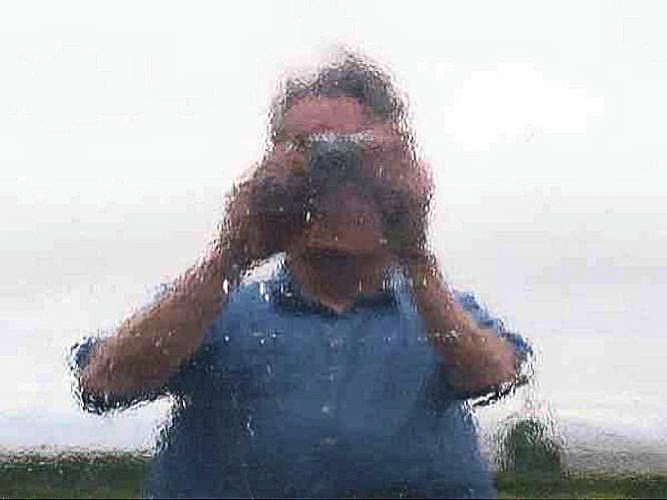
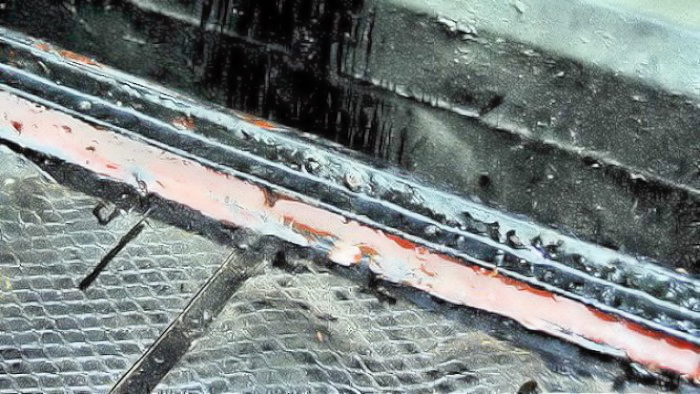
and after the boot lid was polished . . . . . . I can see myself in the reflection!
March 2009:
A little rust showed through again so the remains of the original wood fillet were removed . . .
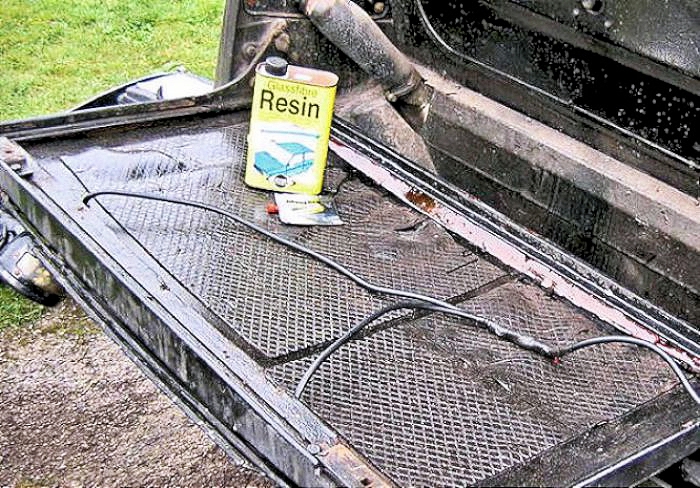
. . . . and the bottom of the boot lid was filled with resin and reinforcing fibre matting.