Engine - Rebuilding
Pistons were worn and the big-ends obviously had to be replaced; this took a little time in research. I did ascertain that a local firm still had a mobile reboring machine and would have rebored the engine in situ for around £200 plus VAT, however I did not have this carried out
January 2006:
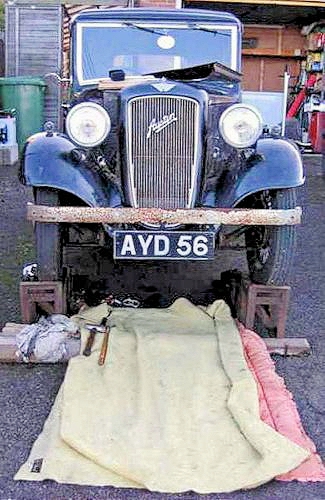
This is my open-air "workshop" - open to the north with clear views across the Bristol Channel.

. . . though picturesque, it is also very cold and draughty in January!
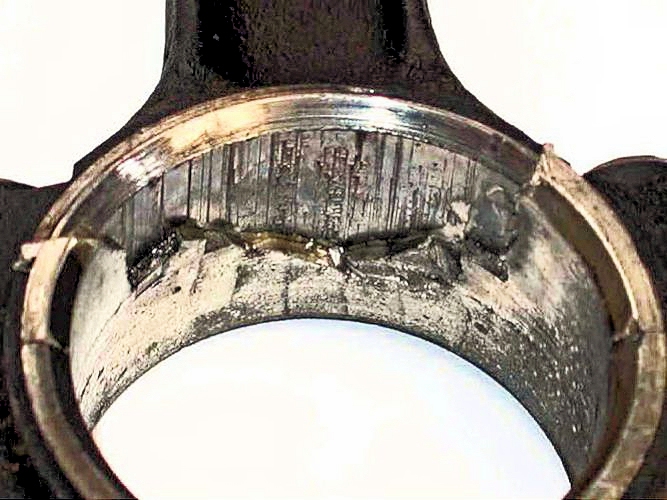
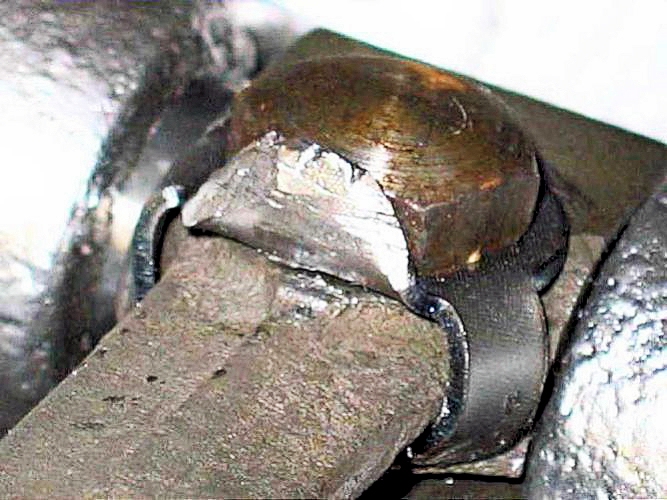
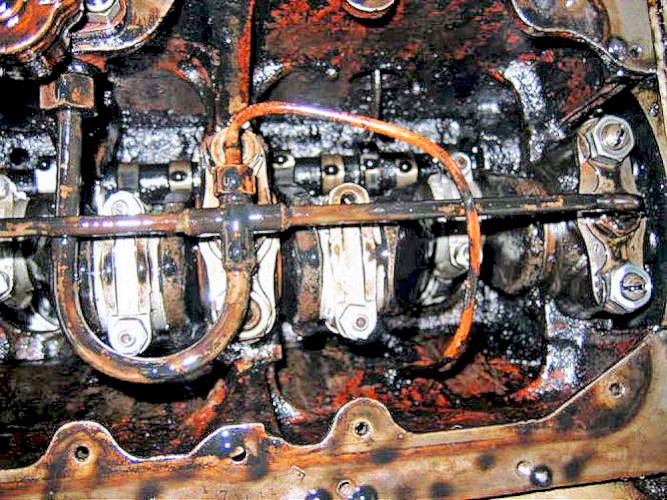
The main reason for dismantling the engine! There was no play in the ends (there is a complete ring of whitemetal still present)
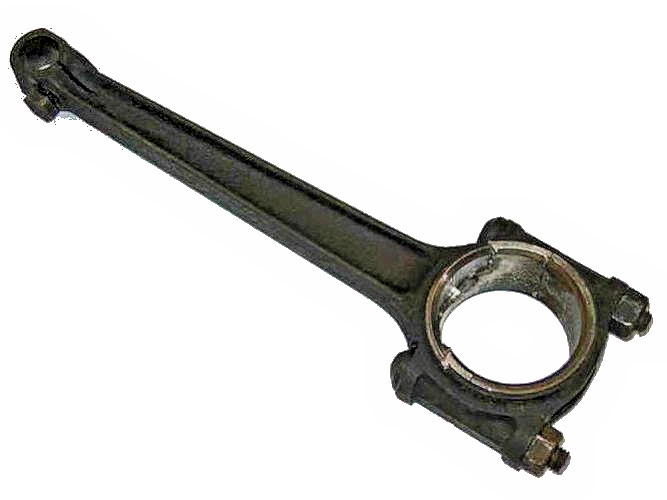
- but remetalling was urgent.
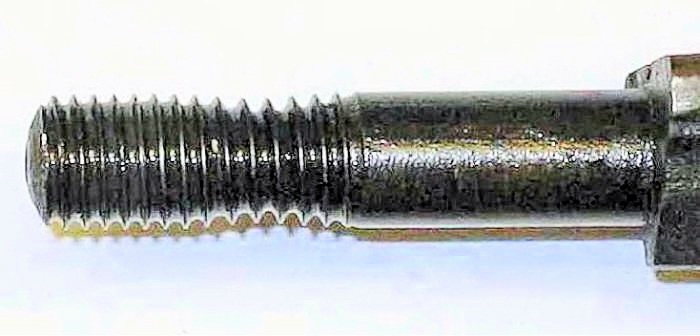
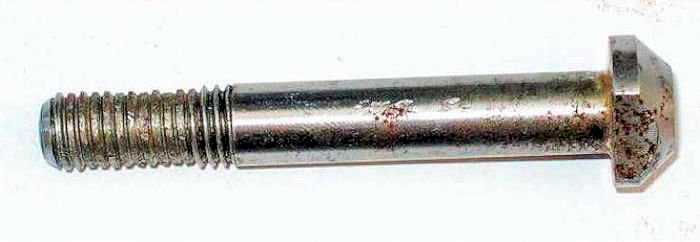
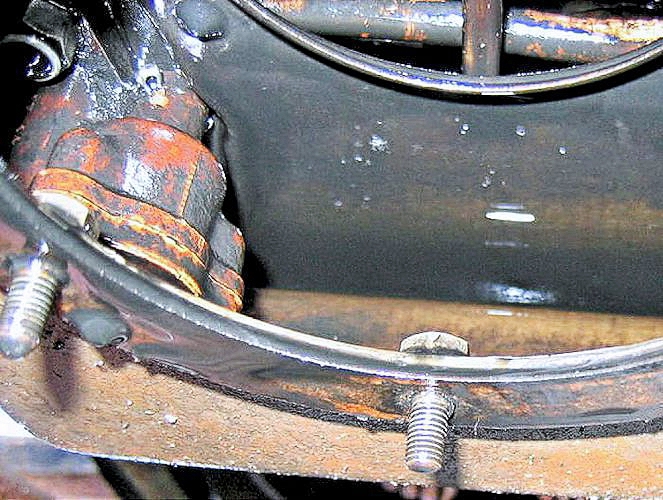
Check your con-rod bolts carefully - one of mine was a very good argument for checking and replacing all the con-rod bolts by new!
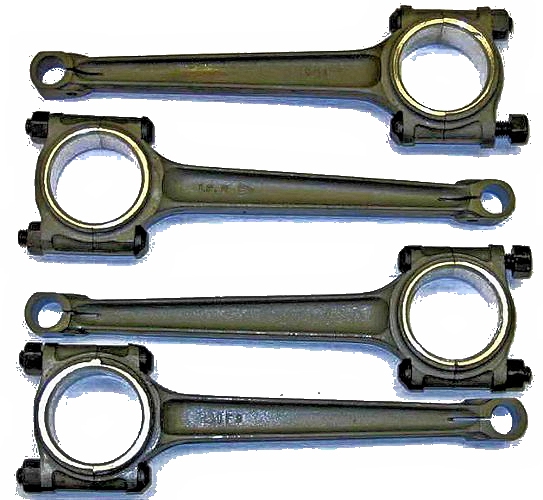
The four con-rods were sent off to C K Engineering to be remetalled, balanced and crack-tested. One rod had been 16 grams heavier than the others! They looked very much cleaner when returned and have been balanced so they are all of equal weight.
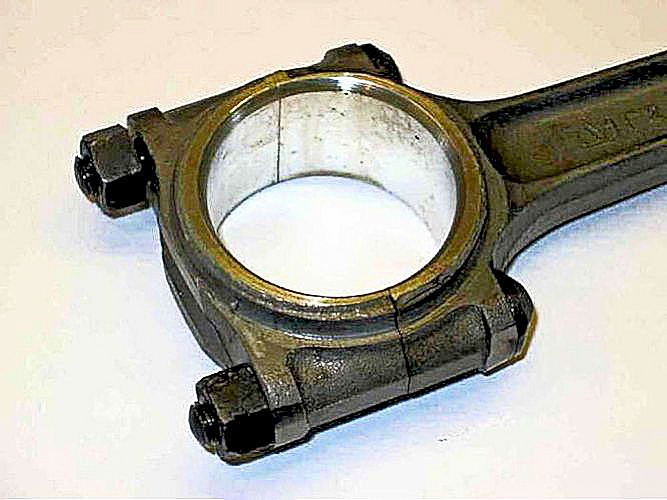
Although very close to tolerance, the newly cast ends needed a little careful scraping to fit.

To save many journeys out to the (very cold) car, initial scraping-in was done in the workshop using a mandrel turned to size.

Best fit is obtained when the bolted-up and oiled con-rods will just fall from a horizontal position. I scraped them to be very slightly loose so they fell easily.
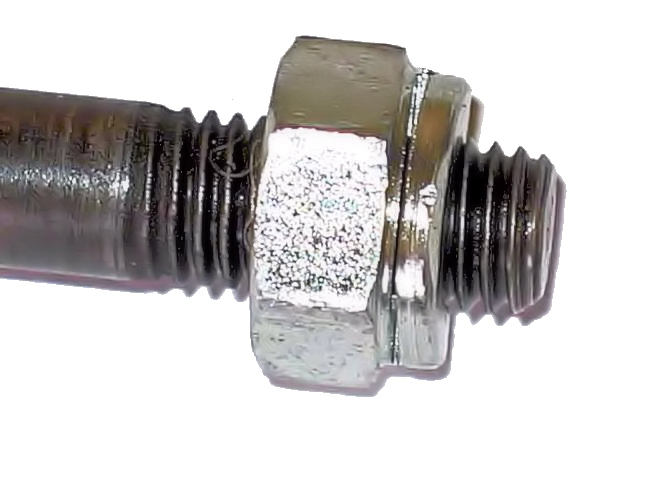
The small-ends are secured to the piston by a gudgeon-pin held in the end of the con-rod by a shanked bolt.

The shanked bolt is locked into position by a very special lockwasher.
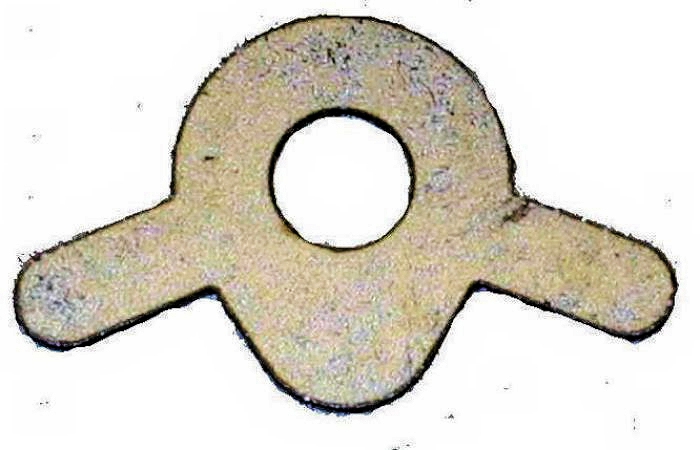
It is important to fit a new correct bolt and lockwasher as the bolts have been known to shear or work loose. Make sure this is securely located and the ends turned over so the bolt cannot move.
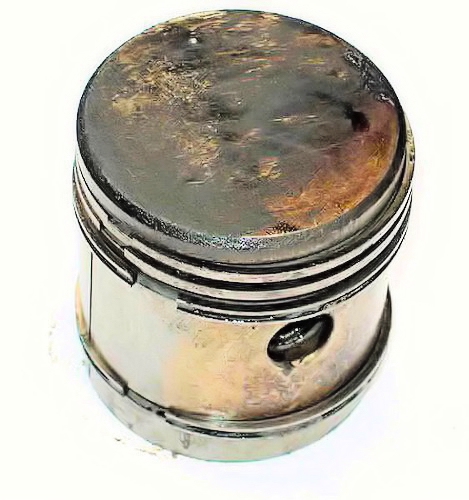
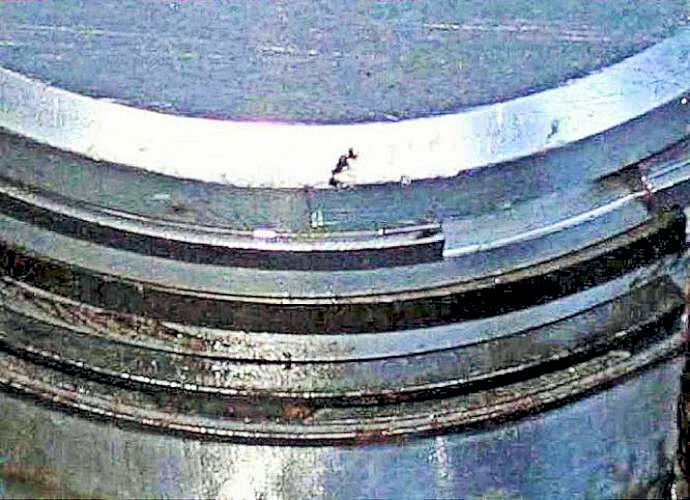
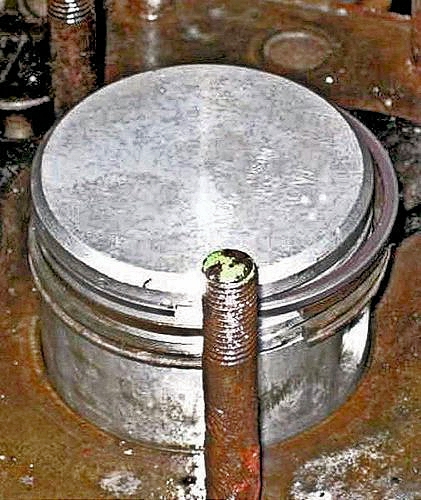
The old pistons looked OK but a closer check showed that there was far too much play in the top ring groove; this would have allowed a pumping action on the oil film and high oil consumption.
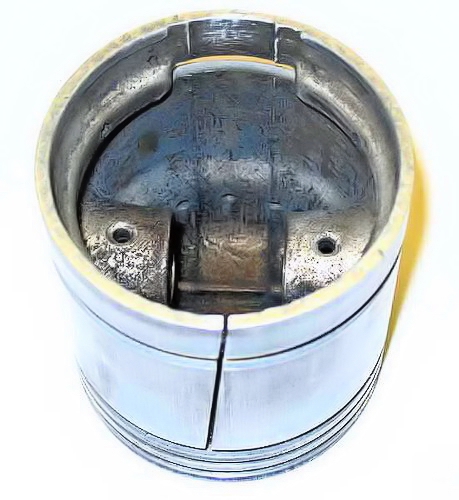
The new pistons varied in weight by 4 grams so they were balanced by removing metal (4 grams is quite a lot of aluminium!) from the skirt using the milling machine. They ended up at precisely 255 grams each.
Although original pistons had three rings, it seems that the new/old ones currently available are 4-ring types.
It is extremely difficult to fit the fourth ring as the piston won't push up the bore far enough to fit it from the top. This means the ring has to be inserted from below and with the crankshaft still in place, space is extremely limited as there is no room for fingers or a conventional ring compressor.
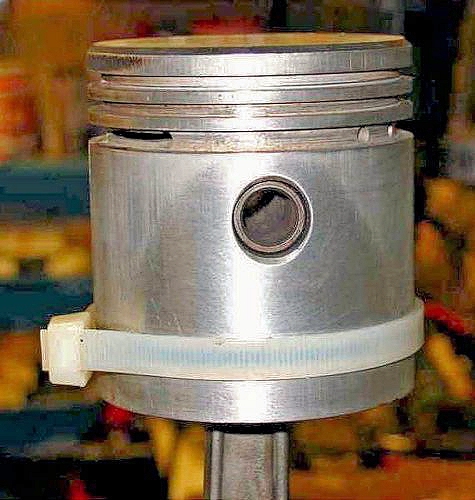
Plan A involved the use of a cable tie around the ring, however this one was too thick, fouled part of the engine casting on the way in and released the ring before it entered the bore. End of ring!

Plan B incorporated a narrow piece of steel cut from an old ring compressor and just long enough to wrap around the piston once it was held in place by a much thinner cable tie. Engine STP oil helped the ring slide inside the ring compressor and the ring clicked reassuringly into place.
The 3 top rings were fitted by hand after the piston had been pushed through the top of the bore.
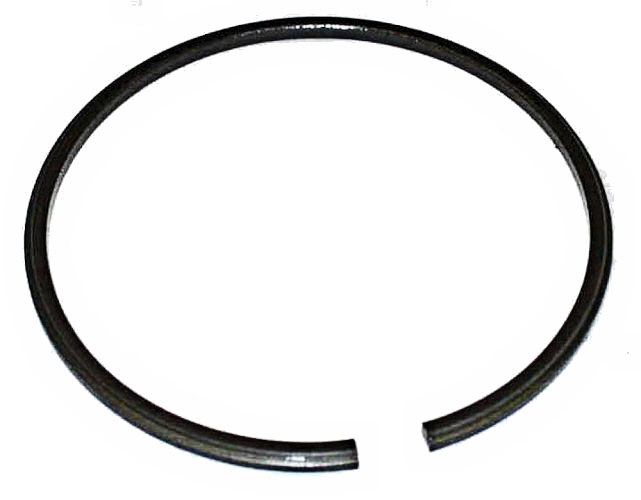
The top ring is a ridge-dodger, the top edge being cut away so as to miss the ridge at the top of the bore.
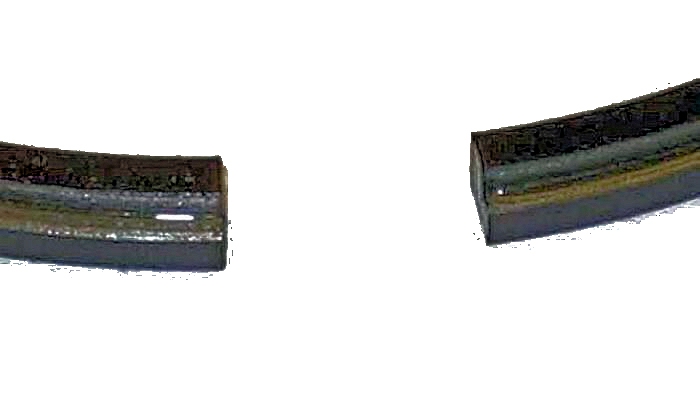
If you don't fit these on a worn bore, the ring will click (maybe break) every time it hits the top ridge.
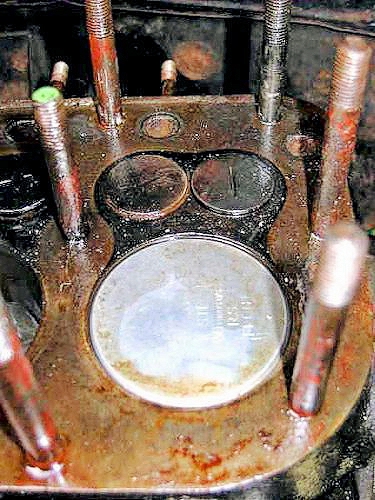
Nice new pistons come right to the top of the bores

- and the full set of 4-ring pistons in place.
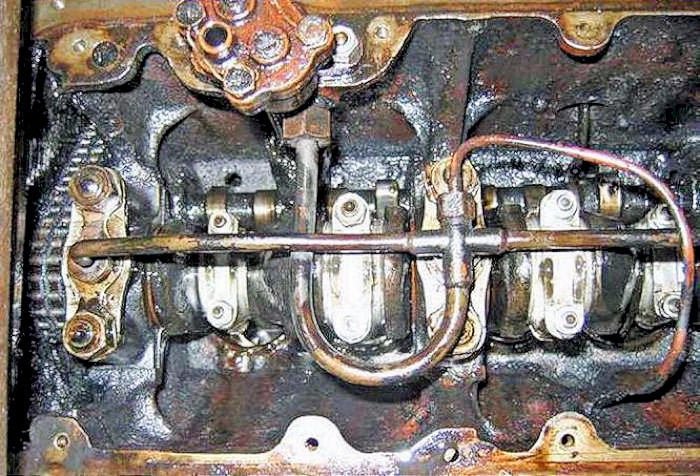
After tightening the big-end bolts progressively to 25ft-lb, and checking the engine would still rotate! - the oil distribution pipe went in.
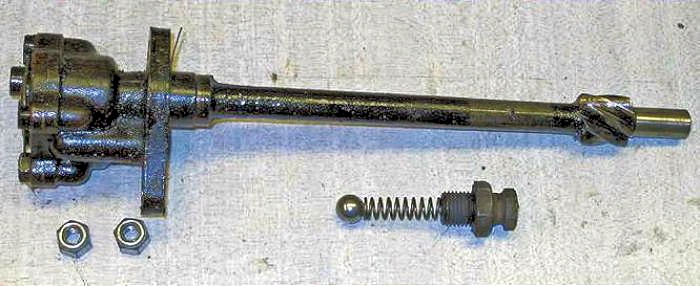
followed by the oil pump (not touched on this occasion as I had not long cleaned up the bottom plate)
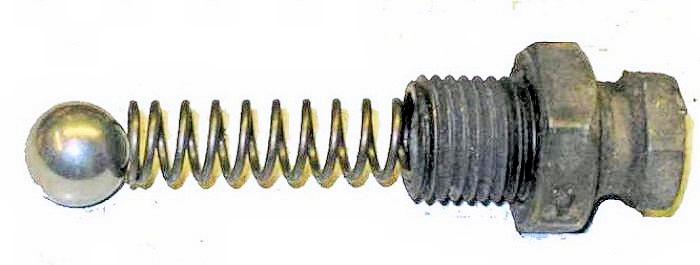
The oil pressure release valve and spring were fitted next.

Followed by the cleaned inner oil pan and the sump and the oil filter.
February 2006:
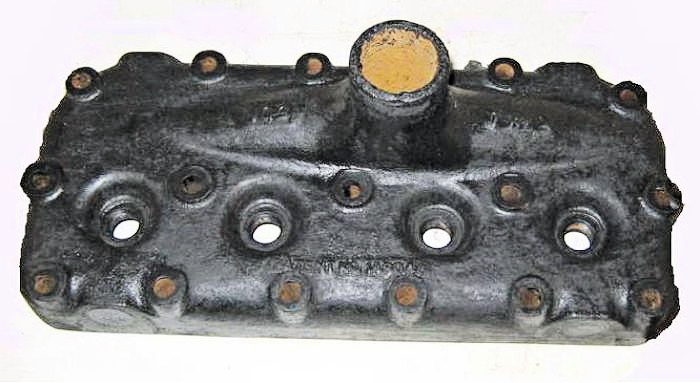
The ready blacked head was dropped into position and torqued down progressively to 30ft-lb
- - - - and soon it was running again!
looks smarter - and the insides are rebuilt too.
looks smarter - and the insides are rebuilt too.
The first start-up was easy - using the starter motor to turn the engine until the oil pressure registered on the gauge (also heard the change in engine note as the bearings received oil under pressure!) and using Millers Running-In oil the engine fired up first time.
The engine was first run for three half-hour sessions on the ramps before using it carefully on the road. The oil can be used for up to 500 miles on the road but running-in a car with only 20bhp at best is remarkably slow!
March 2006:
250 miles and still bedding in and running well - engine seems more peppy than before (which isn't saying that much really!) but certainly the balance and silence are greatly improved.
Oil pressure even after a longish trip (10 miles) remains at 30psi give or take a psi at a slow tickover on Millers Running-In Oil which is advertised as as SAE 30. At 350 miles, Millers Millerol 30 SAE30 oil was put in the sump - oil pressure hot or cold remains at 30psi give or take a psi.
May 2006:

At around 800 miles a strange vibration resonance through the body appeared - so the sump was dropped again out of curiosity to see if any of the big-end nuts had come loose. The good news was that the white metal on all the big ends was virtually unmarked and I could still see the scraper marks in the surface.
All the ends were tight BUT when reassembling them with the steel aeronuts, I found several that would just spin on. In other words these particular nuts are not re-useable.
So I bought a new set of lock tabs, bolts and the proper nuts from ATDC spares.
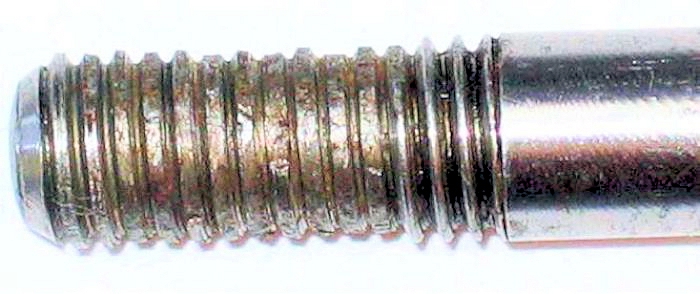
One of these was pre-used as the thread was almost non-existent. Always check everything carefully!
Interesting that the big-end bolts supplied by Available Austins - 2 bolts plus aero-nuts - weighed 60 grams whilst those supplied by ATDC Spares - 2 bolts plus plain nuts plus lock tabs weighed 72 grams, a significant difference.
The running-in oil must have been a detergent oil as the engine inside was now very clean! So I refilled it with the modern Castrol 10W/60 fully synthetic oil which I have used for many years in my Rover 90
December 2006:
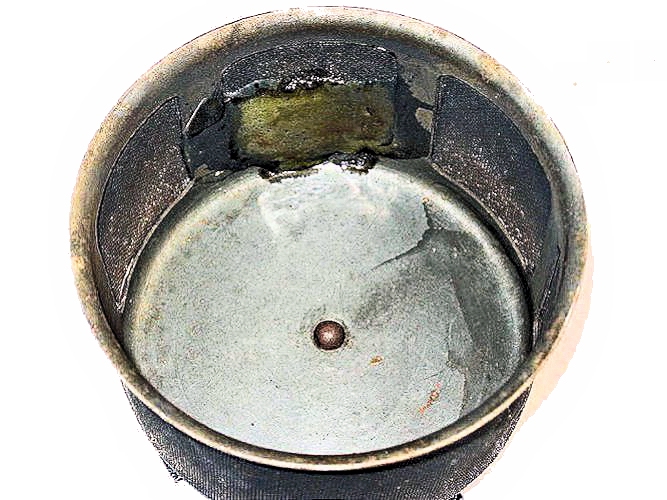
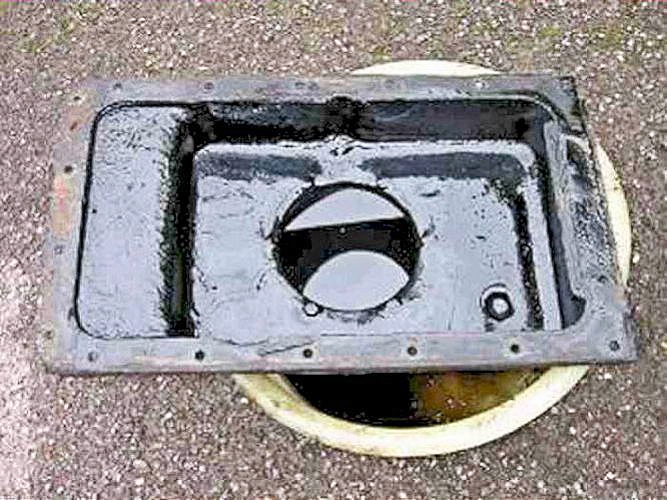
Routine oil change involves draining the oil and removing the sump filter. Slight damage to the gauze meant that I had araldited a panel in when I first got it - but it also means that the oil has two paths out of the filter and into the adjacent oil pump pickup, at least partially avoiding the notorious "short circuit" overheating of the oil when travelling at constant speed on a motorway.
As can be seen, the oil pump pickup is very close to the edge of the oil filter which can mean that the cooler oil in the rest of the sump is not circulating.
April 2007:
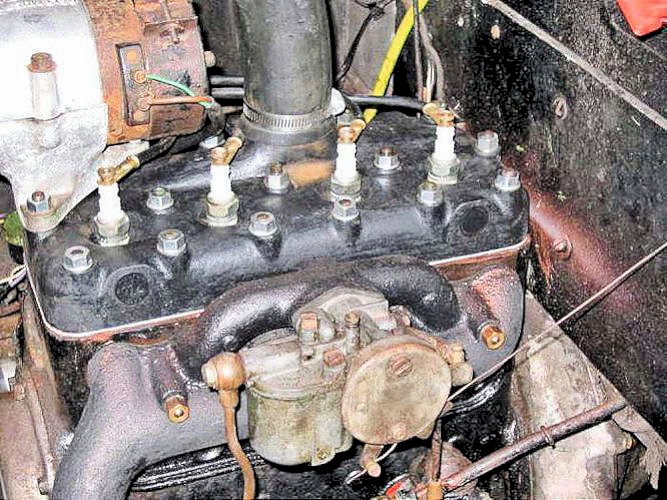
New spark plugs - NGK type 1110 A-7 fitted and set to 22thou.
Compression pressures after 3,500 miles: all are equal at 95psi
October 2007:
Aluminium head fitted - see this page