
Fuel Tank
February 2004:
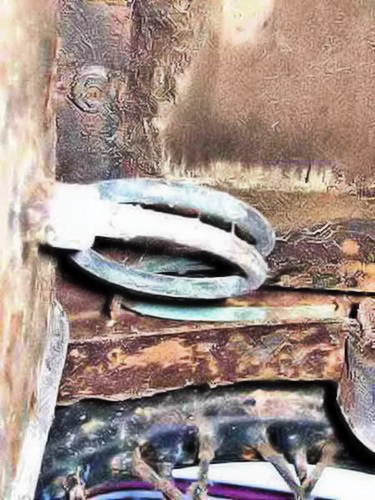
No petrol could be coaxed through the pipework ......... The pipework and tank outlet looked OK - the picture is taken looking up in front of the petrol tank; the copper pipework disappears into the nearside chassis member.
. . . . . all was revealed when I took the drain plug out - there was no petrol at all in the tank!
Very conveniently, the petrol pick-up pipe ended just inside the drain plug. It was easy to push a flexible pipe over the end and confirm that the pipework was OK by blowing from the fuel pump end into a small jar of petrol - it was!
A gallon or so of petrol into the tank - no leaks (but see below) - and the pump enthusiastically squirted petrol in the direction of the carburettor.
April 2004:

The boot lid and the spare wheel carrier had to come out for repairs which exposed the petrol tank.
A slight smell of petrol weeping from the tank meant that it also had to come out.
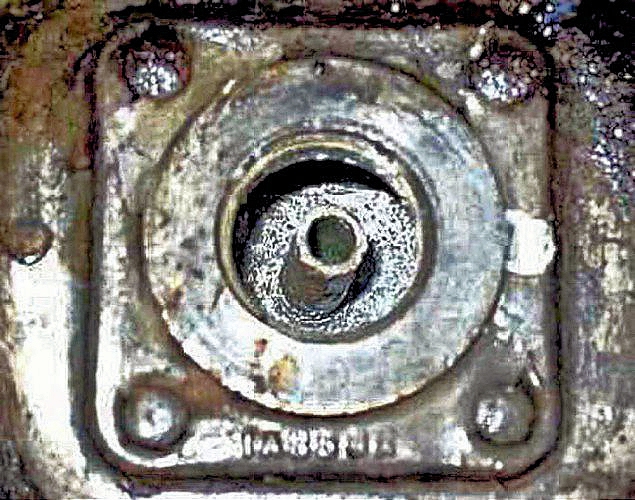
The tank was held in place by two U-bolts and dropped away quite easily after the filler pipe and tank sender unit had been disconnected.
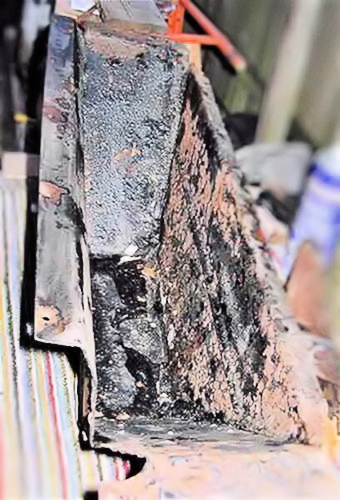
After cleaning up and a bit of wire brushing more significant holes appeared in one end plate of the tank.
Once the sender unit was removed I was able to clean the tank out with several thorough swills of cellulose thinners. After a helping bash with a soft-faced mallet it was amazing how much debris was loosened and came out!

The leaking end was first plugged with "Leakfix", which has worked well for me in the past. Once fully cured, the whole end was treated liberally to fibreglass resin and matting.
After checking that the tank was now fuel-tight with more cellulose thinners I applied a tin of Slosh fuel tank sealant.
I used a small size (500ml) tin recommended for small tanks, but should have bought more as all the surfaces were not covered. A further 500ml tin was required.

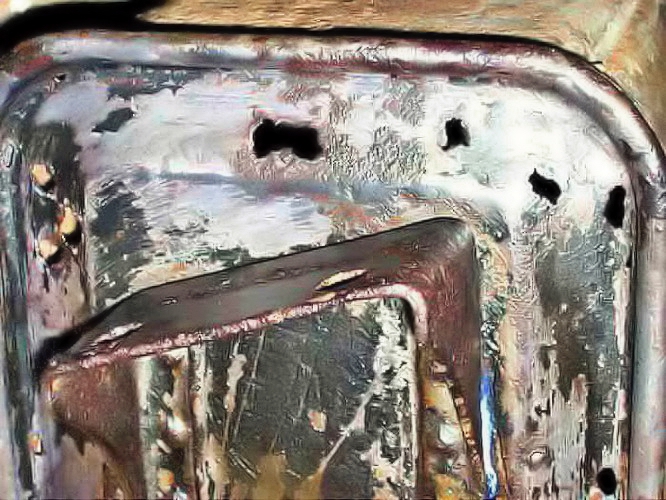
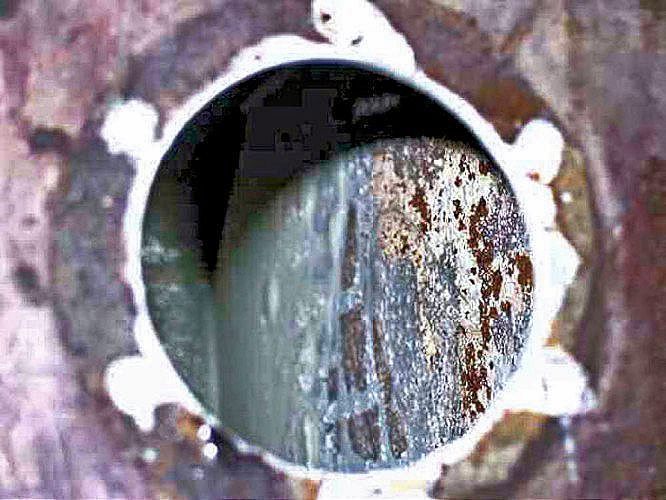
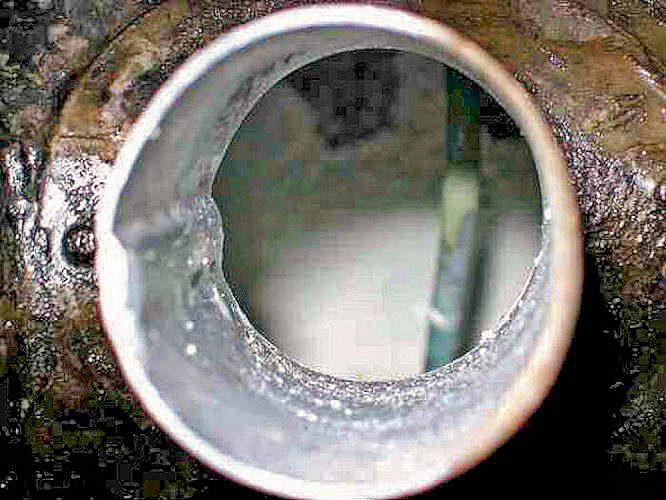
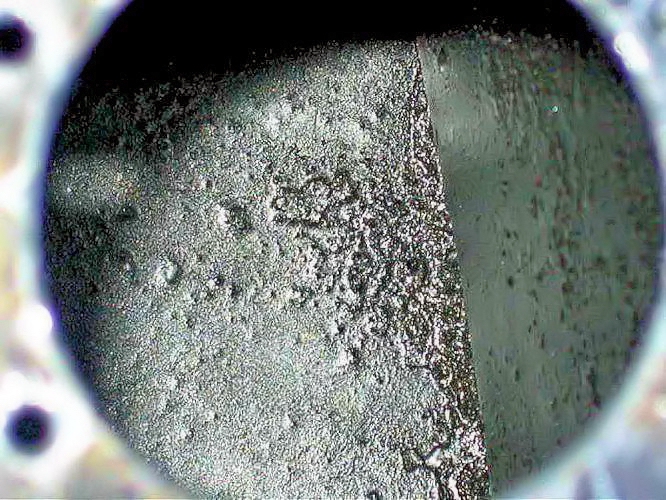
Various views inside the tank show that initial coverage was not perfect (two unexpectedly large baffles inside) but that the Slosh did stabilise the rust particles I hadn't managed to dislodge !
Do make certain that the filter in the bottom of the tank is blown clear before the Slosh sets - otherwise no petrol will get through!
May 2004:
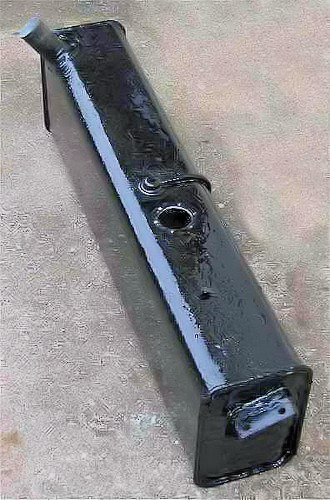
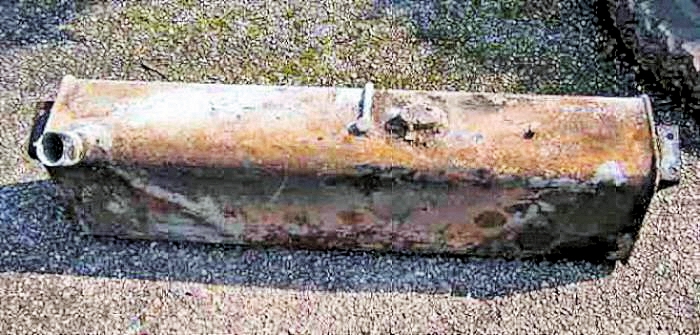
The finished tank looks very much smarter than when it came out !
May 2006:
The old tank has now started to leak when it is almost full. A temporary repair has been made using Leak-Fix but I really need a better tank.
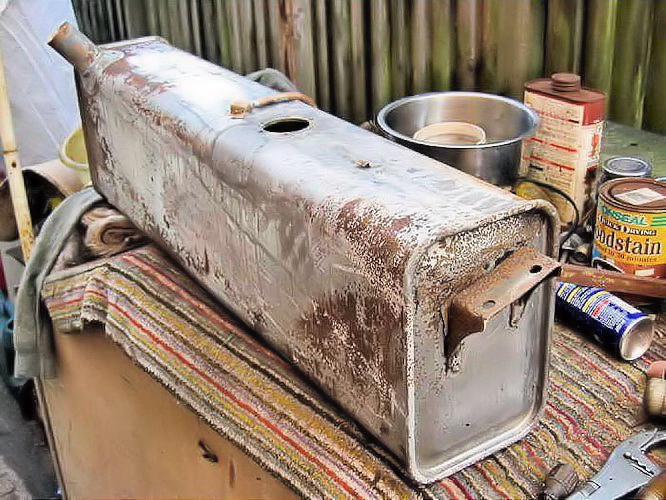
An advert in the ATDC Magazine resulted in a good though slightly bent tank arriving.
Needless to say - THIS time ALL the fuel sender unit screws sheared off but there is sufficient metal to drill and re-tap for the more common 2BA size screws.
June 2006:
This tank was very gooey almost oven-greasy inside with a thick gunge that has probably preserved the inside!
It was cleaned out very effectively using Drain Cleaner followed by a lot of water to flush it out.
Then POR15 "Metal Ready" prepared the inside for POR15 "Fuel Tank Sealer" from Frost Auto Restoration.
Unlike other fuel tank sealers, this one sets hard, very hard! I was unable to save the filter gauze in the bottom of the tank as the Sealer started to set so quickly - so it was broken away by a screwdriver. The inside of the tank finished up with a very hard and impervious seal so I did the outside with it as well!

. . . and then refitted the tank level sender unit as the one with the tank was corroded solid.
July 2006:
. . . and fitted it in the car. No pictures - well one tank looks very much like another except this one is silver!
I tipped the very small amount of residue into the ash-bin - 2 years on it is still covering the bottom of the bin despite hot ashes being put on it!
September 2009:
the "new" tank is still OK.
Don't forget - DON'T overfill, as the vent pipe is on top of the tank and WILL deposit any excess on the floor!