
Front Springs
VITAL INFORMATION
The axle is NOT mounted at the exact centre of the springs. The Castor angle is obtained by the front axle being mounted about ½ inch forward of the dead centre of the road spring. So the short end points forward. Because the chassis tapers to the front, the spring centre peg should drop into the hole in the mounting plate on top of the axle. If the springs are put on the wrong way round the axle will not locate over the spring centre pegs.
April 2004:
The front springs have sagged - there is very little clearance between the chassis and the bump stops, about ½", - and none at all to the wings.
The ATDC Technical Reprints vol 1 page 52 - quote just 1" clearance between spring and bump stop. It has to be close otherwise the car would roll excessively.
I've also seen it mentioned that you should be able to place four fingers (effectively a fist without the thumb - I make it 3½") end-on between the top of the wheel and the outer rim of the wing. But this seems excessive and I have now discovered that my Lichfield has Sherborne wings - the shape at the back near the running boards is modified.
As the front springs are fairly close together, there is not much resistance to roll until the bump stops contact the chassis and this amount of clearance would allow too much roll.
With a small clearance of course, many bumps will cause the bump stops to hit the chassis with consequent high stress loadings. Remarkably the bump stops on my car are still OK and the chassis isn't bent! The axle appears OK as the wheels appear to be vertical as judged by a long spirit level.
I think it is generally considered that the Austin Ten front suspension is not the best design.
June 2004:
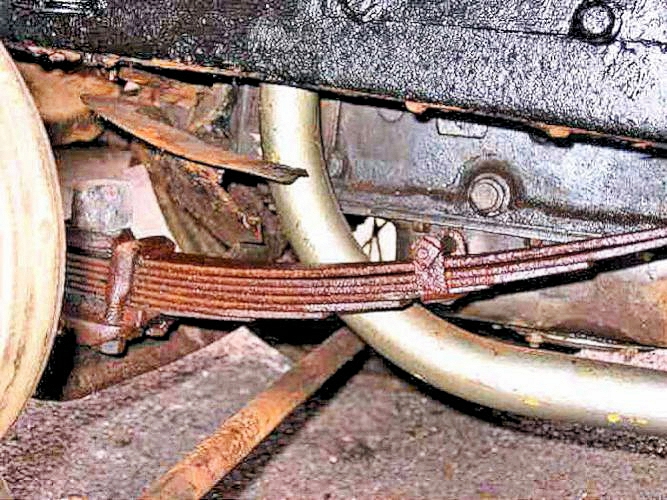
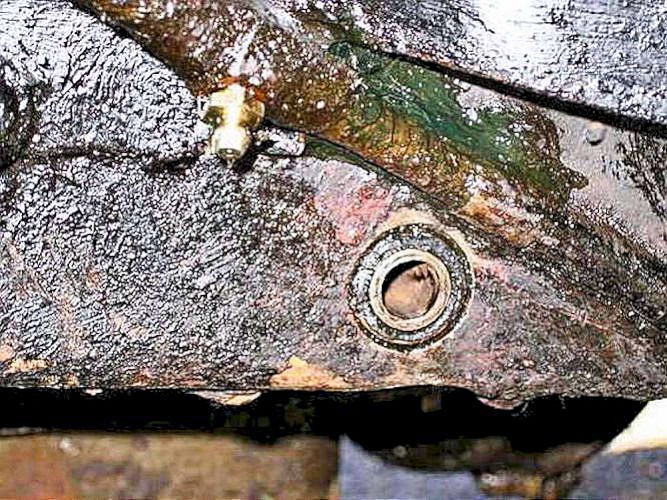
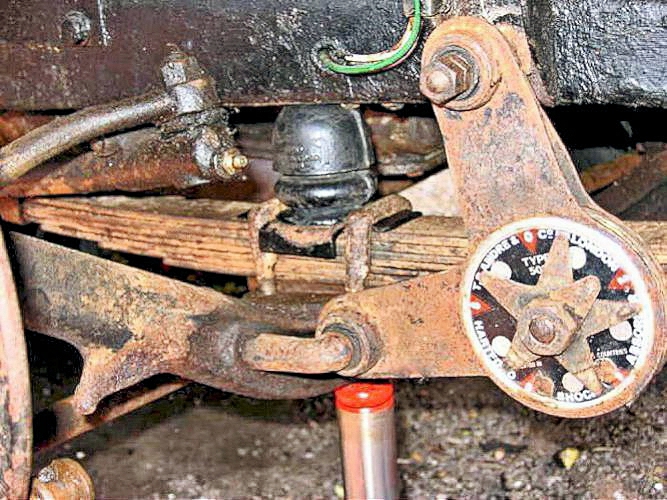
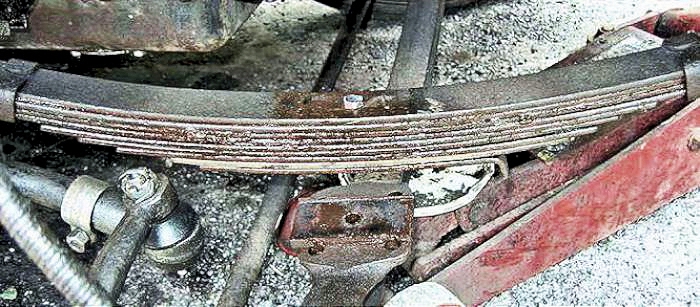
The overall under-wing view shows the front engine under-tray partially removed. Also the spring leaves opened up for oiling and the engine oil pressure adjuster.
November 2004:

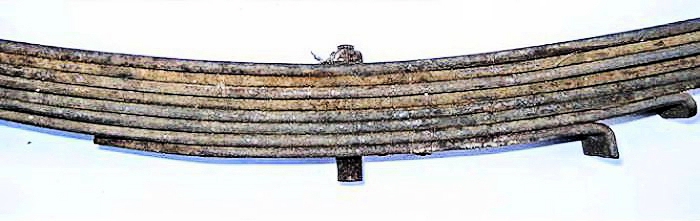
A "new" spring from David Wilkes has plenty of curvature - length between eyes = 25.75" height uncompressed, datum to inside = 4" exactly - however in practice it was no stronger than the existing springs.
April 2005:

I have removed the front nearside spring; this was much easier than anticipated - made easier as the lock-tabs hadn't been bent over very well!
where would we be without our furry "helper" - "please throw my toy"
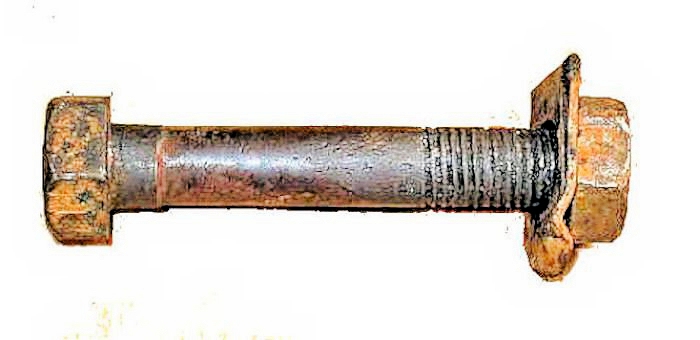
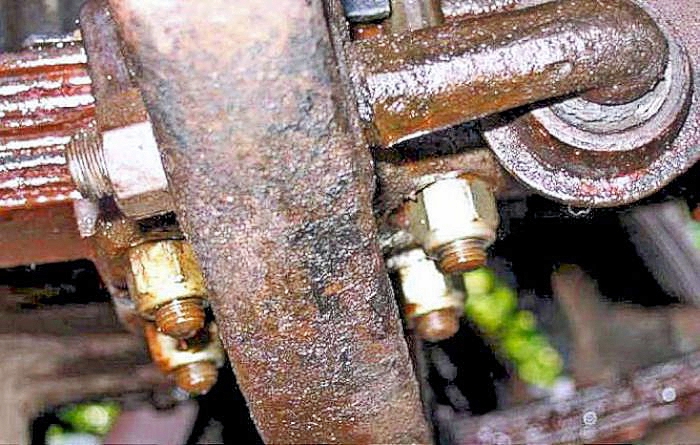
One of the three shackle pins was a little worn. It was a modified bolt but was OK as the critical unthreaded length was correct.
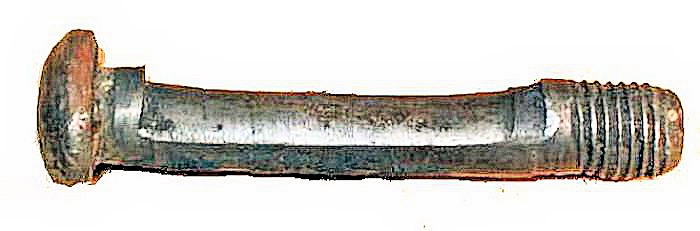
But it was much better than this one, found in the spares that came with the car!
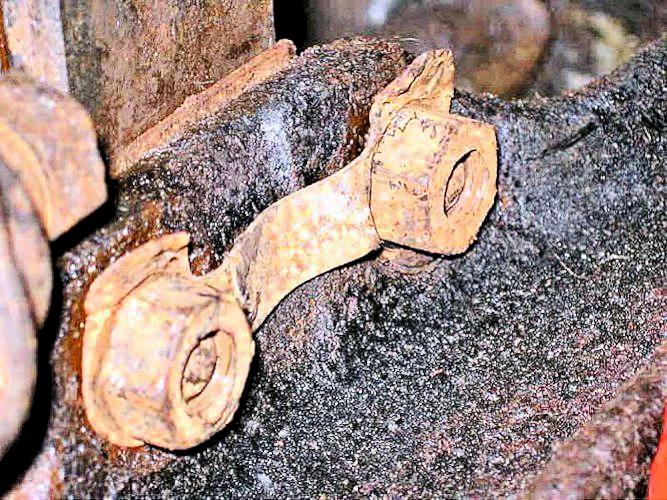
The rear shackles of the front springs proved to be badly worn.
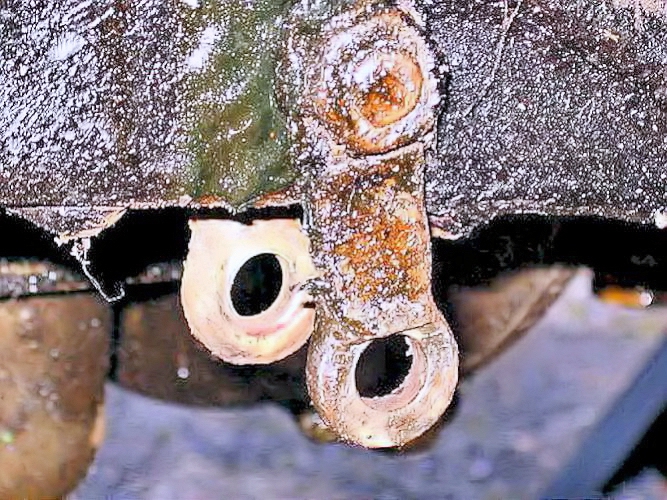
They have been swivelling in the silentbloc (due to the shackle pin being loose) rather than letting the silentbloc do the work!
The standard chassis bump stop places high stresses on the chassis and spring when they suddenly meet on a bump.
Also the narrow width of the chassis at this point means there is little control of the roll.
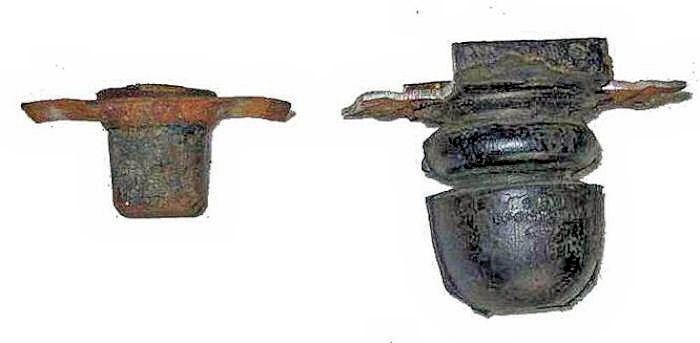
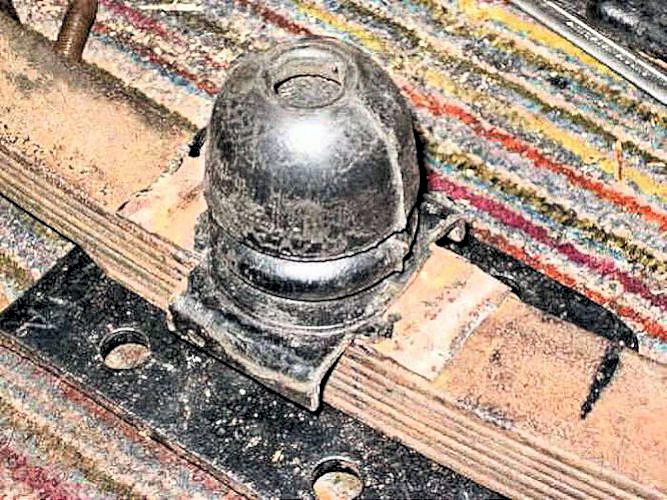
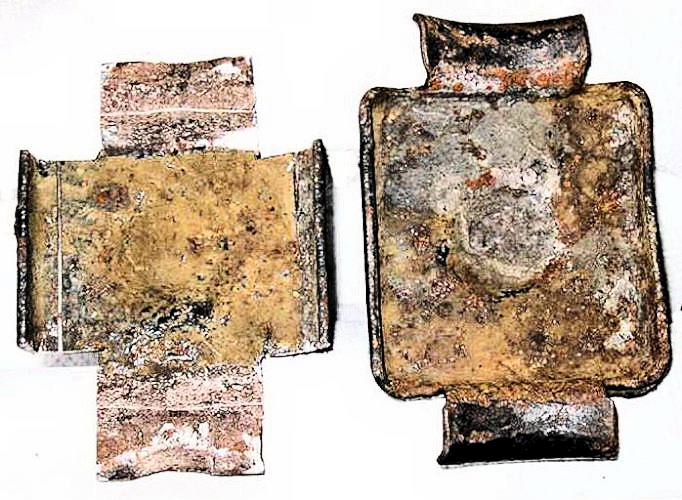
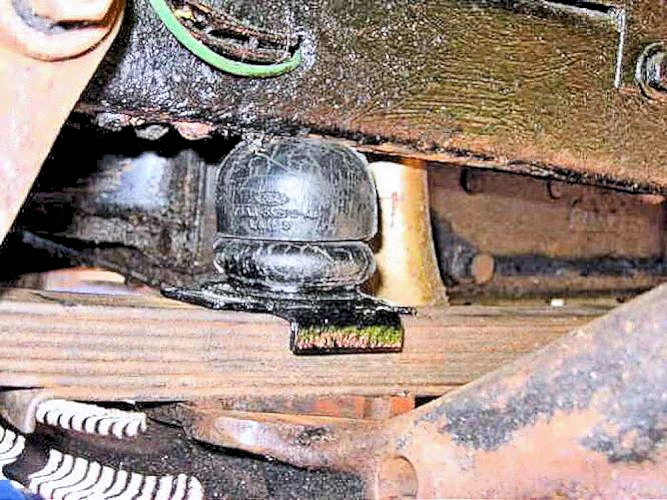
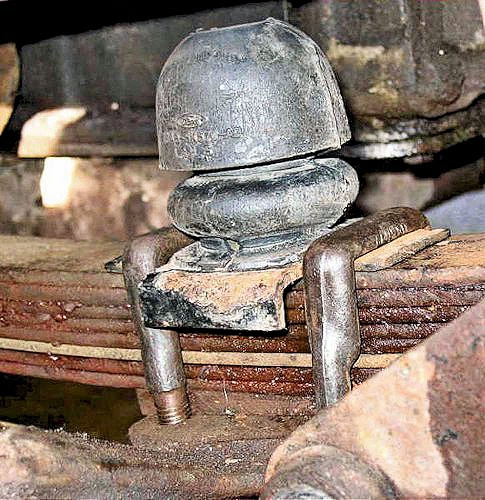
Using a bump stop from an Escort Mk I as a helper spring offers more progressive control of spring movement.
as it minimises shock loads and reduces roll.

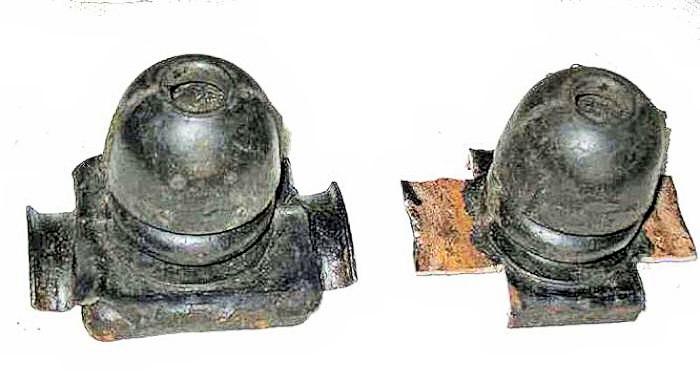
The last picture demonstrates that the helper spring will compress as much as the original bump stop.
May 2005:
When I came to reassemble the front shackle pin to the chassis, I realised that the correct way around was for the pin to be entered from the centre, with the nut and locktab on the outside. Trouble was the apron under the radiator shell was in the way so that had to come off (ten rusty bolts!).
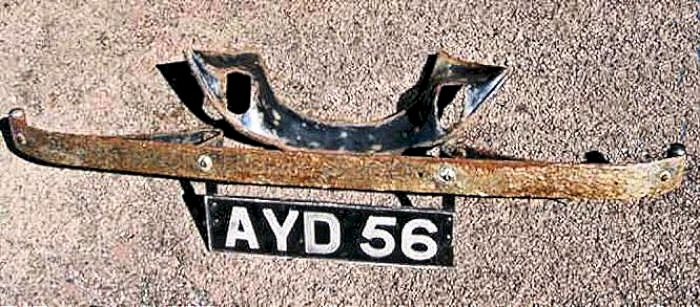
and before I could get the apron off I had to remove the bumper! Shame the body designers and the chassis designers didn't talk together at The Austin!

I wasn't going to put any paint on the panels, but the apron was so rusty (surface rust only) that I decided to tidy it up!
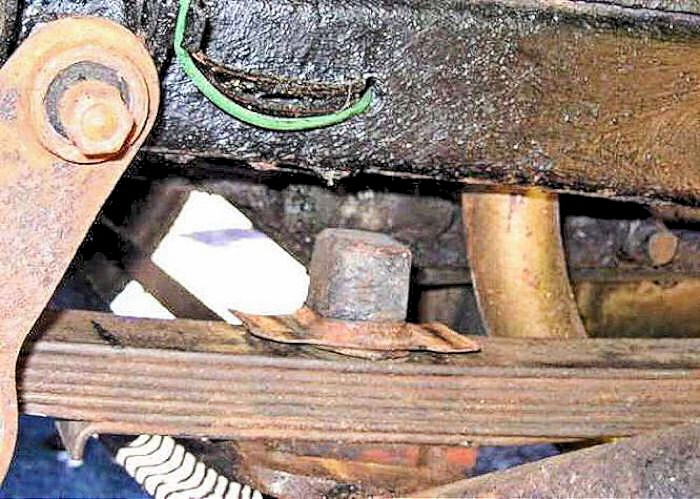
The original bump stop was temporarily placed in position.
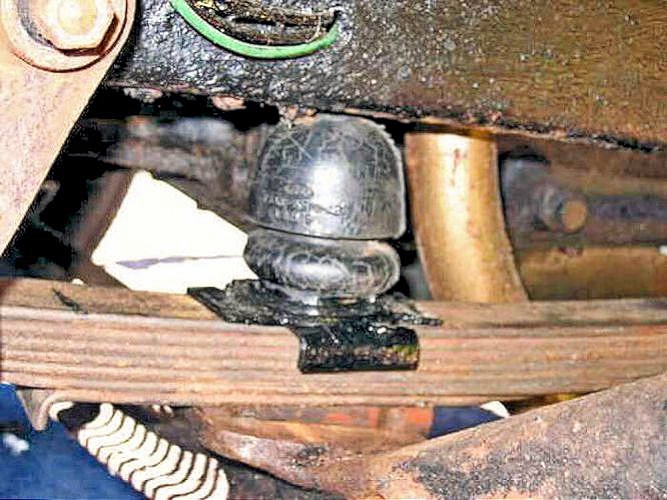
. . . before the new helper spring bump stop was fitted.
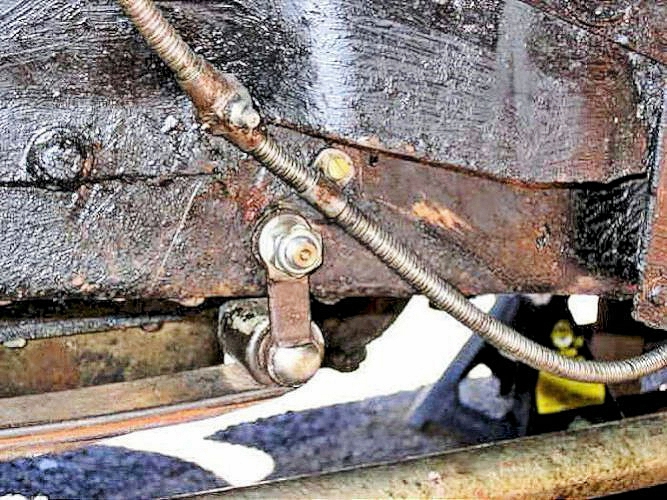
The rear shackles were reassembled using self locking nuts; took a while to get everything lined up!
I tested the bump stop by compressing the spring so all the load was on the nearside wheel.
June 2005:
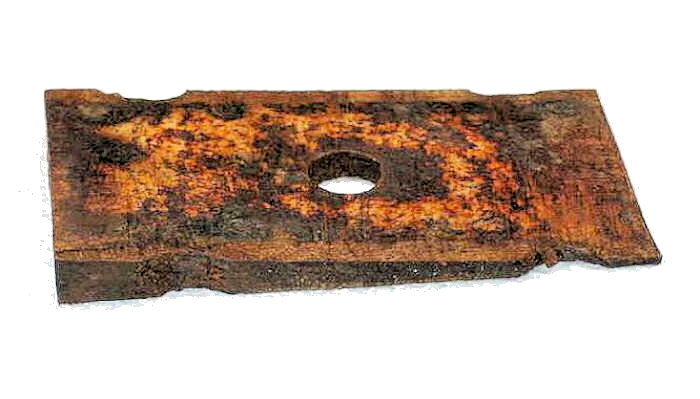
To improve the castor action, a wedge has been placed between the springs and the axle (thick end to the rear).
This tilts the whole axle beam backwards slightly, giving better castor action and self-centering of the steering.
Unfortunately it means that the U-bolts are only just long enough to take a nut. It may mean that I shall have to have some new U-bolts made up (but see below).

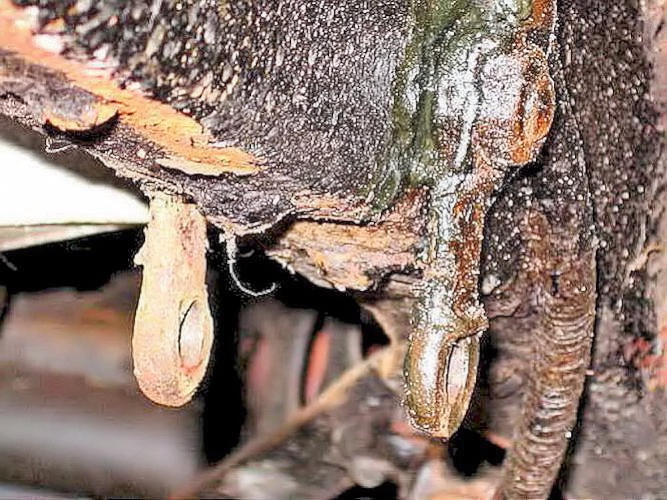
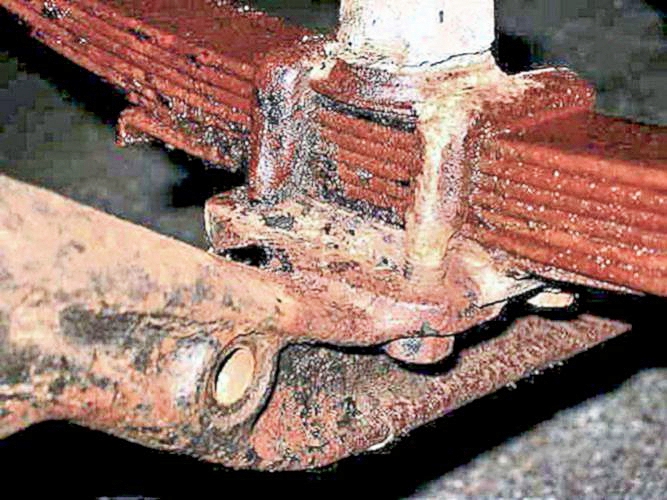
After cleaning up and refitting the rear shackle plates. Make sure the length of the inner of the flexible silentbloc bushes matches the inner of the bush in the chassis or you will end up with bent shackle plates!

When the offside spring is compressed, the spring assister comes into play
April 2006:
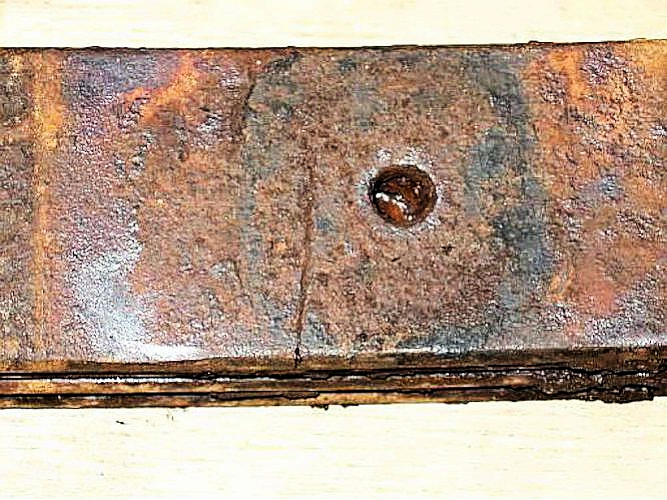
One of the spare springs I acquired had a cracked main leaf!
Finer weather meant that I could at last try the effect of fitting an extra leaf to the springs: the spare springs I had have 8 leafs; the ones on my car only had 7. From being somewhere up inside the wing; the tops of the wheels are now clearly visible under the wing. There is now a small gap between the spring assister and the chassis.
When measured, the axle to chassis clearance is 2⅝" - taking away the original bump stop depth of 1½" means that the notional clearance between chassis and (original) bump stop would have been 1⅜" - so better than the quoted figure of 1" (see above)
Longer U-bolts were obtained from Available Austins and were fitted at the same time so the nyloc nuts have plenty of thread to lock onto. Apparent different lengths of thread are due to the wedge.
June 2006:
As the drivers side always has the weight of the driver, I added another leaf to the offside spring - so it now has 9 leaves. I couldn't detect any change on the road and the car continues to steer well.