Floorboards & Seat Supports
The floorboards looked to be in fair condition; the front footboards have been replaced by chipboard and were cleaned and painted. All the other floorboards were original . . . . .
October 2003:
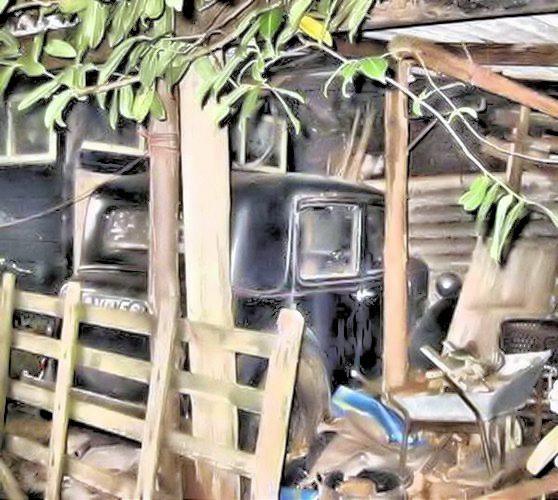
As found - 25 years in an open-sided shed on the edge of a wood in a remote valley
the board over the back axle was in excellent condition and was just cleaned and replaced
November 2004:
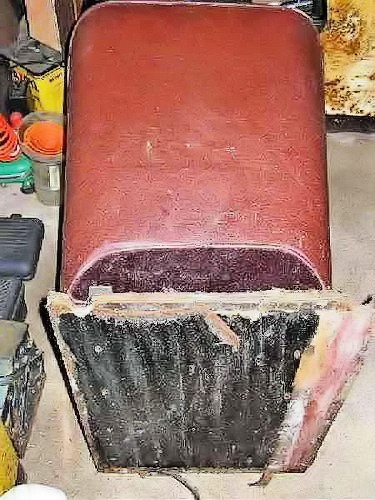
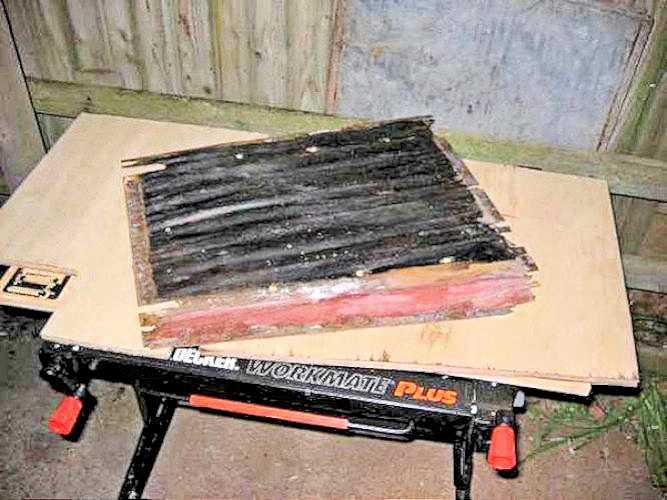
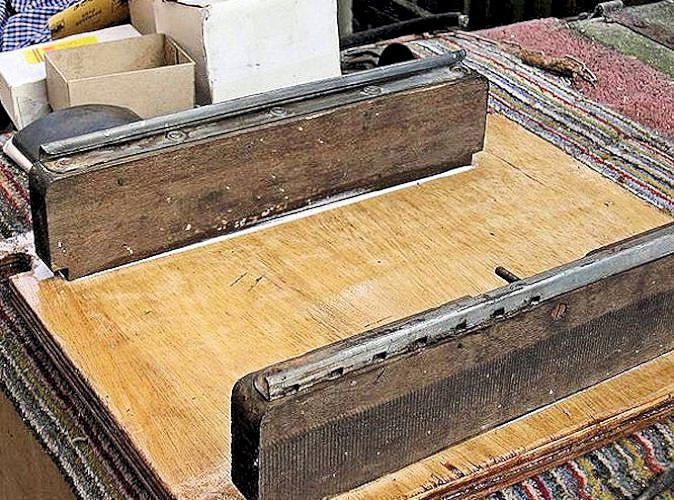
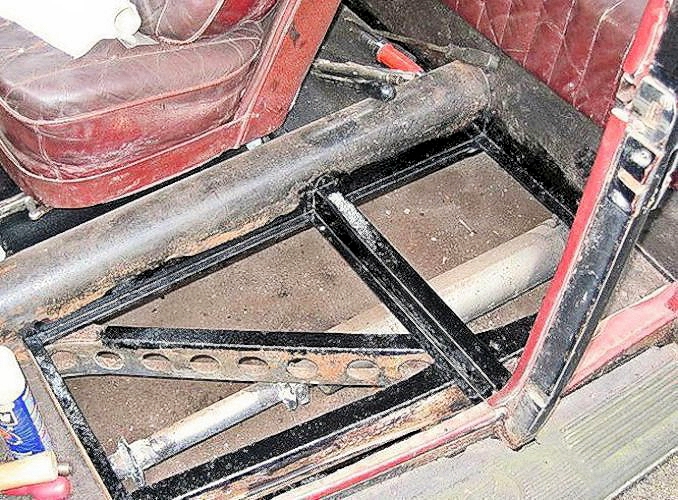
BUT ..... on investigating creaking from the drivers seat, it was found that the apparently sound ½" thick plywood floorboard supporting the seat had delaminated.
An insecure seat would have meant an MOT failure.
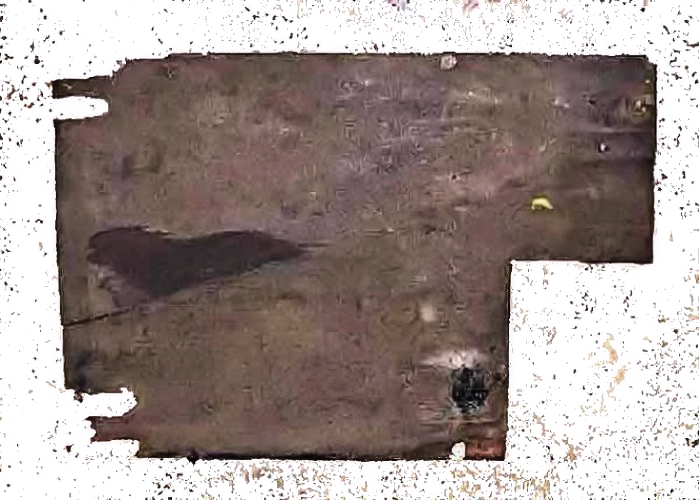
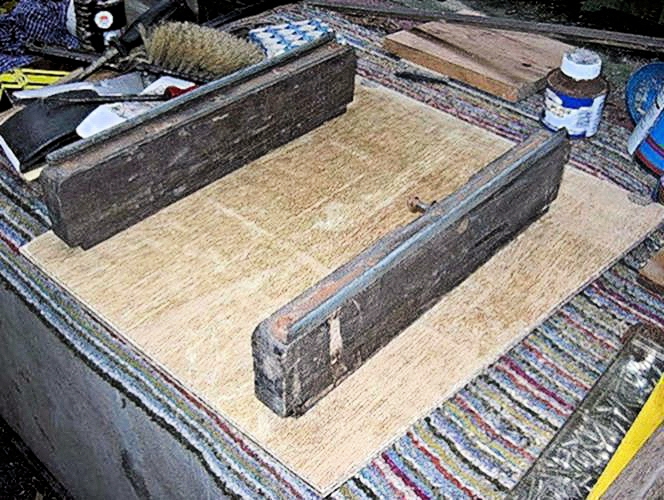
Although it looked fairly sound, the rear footboard came out in powder form! Luckily the top ply came out more or less in one piece to act as a template.
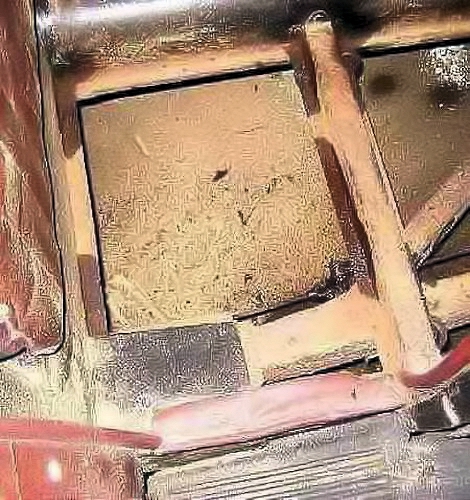
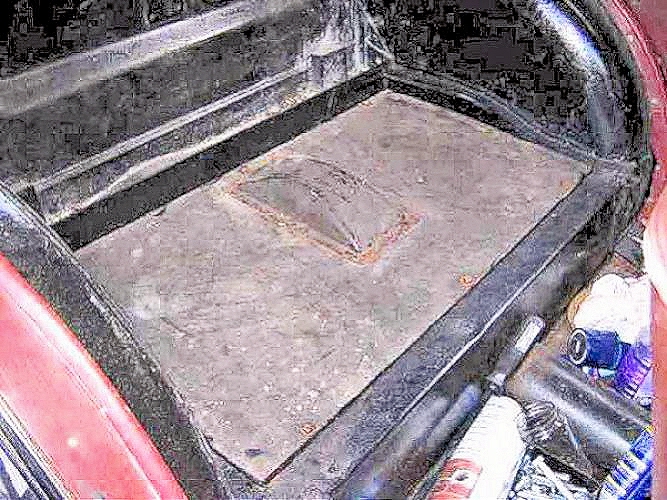
With the floorboard removed the chassis was obviously in excellent shape . . . . . . . .
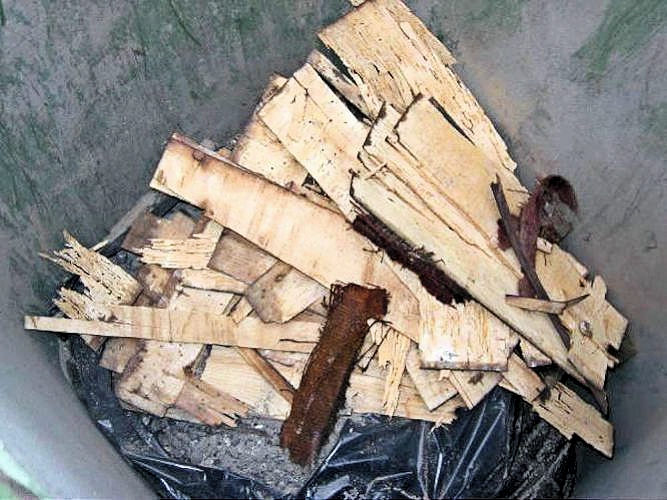
. . . . . . . which is more than can be said looking down at the remains of the floorboard in the dustbin!
(see "Seat Cushions" for repairs to the seat cushions)
December 2004:
Hopefully the Austin won't have to go through too many more fords! The top ply (no longer held by any glue!) was very useful for getting the new floorboard shapes right.
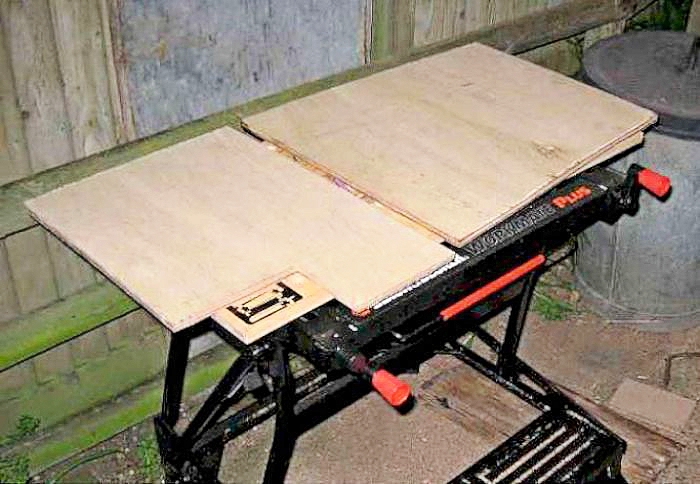
4 ft by 3ft ply would have been enough to replace the boards under the front seats and the rear footwells; sadly I had to buy a full 8ft by 4ft sheet. I used exterior quality ply rather than marine ply as the latter is not normally stocked locally.
March 2005:

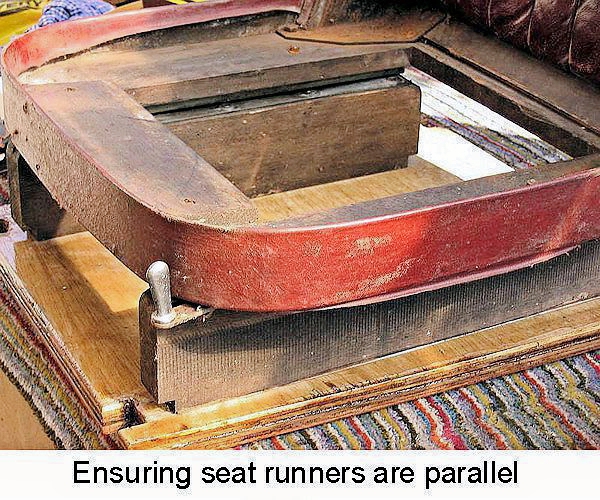
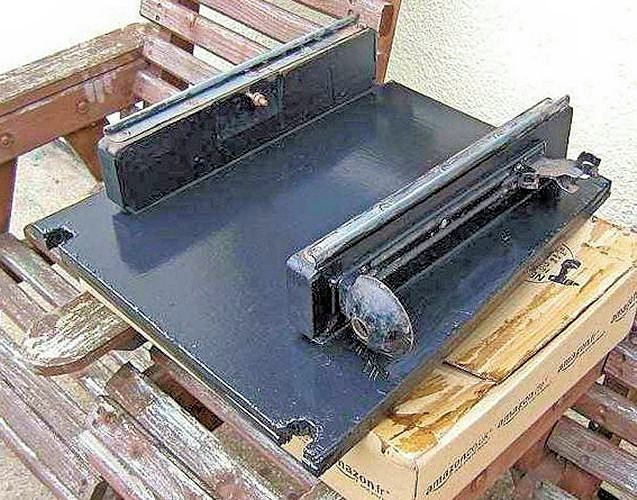
As firm mounting of the drivers seat is so critical, two shaped pieces of ply were glued together.
With the old floorboard holding the seat runners in the correct position, all three plies were drilled through to align the seat runners accurately.
The old delaminated ply was then (easily!) removed.
After applying two coats of varnish, it was time to refit the seat runners. The amount of error was in fact much less than indicated by the photograph, but the seat runners operate within very tight tolerances so it was necessary to be very exact to get a smooth sliding action
once tested, screwed and glued the black top coat could go on.
The double thickness floorboard under the front seat was given two coats of yacht varnish followed by a coat of black to give it a colour.
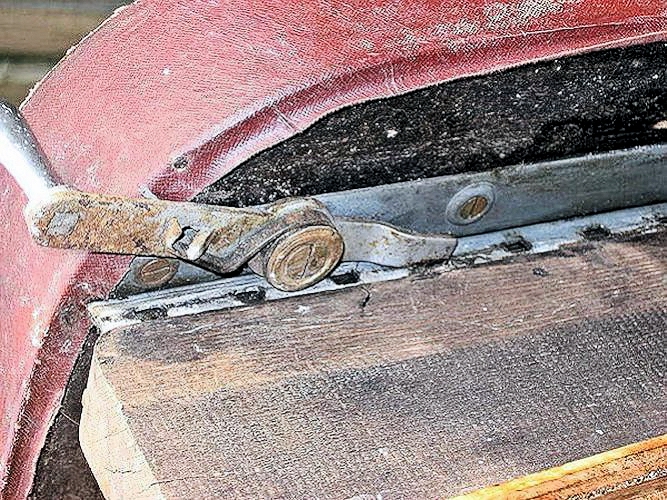
simple seat locking mechanism
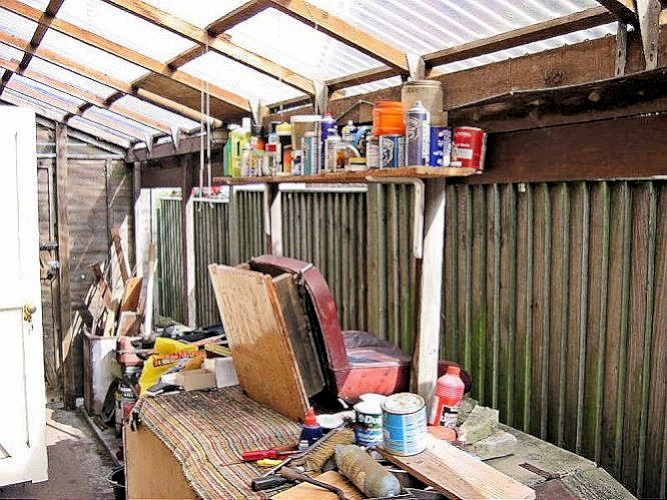
the "workshop"
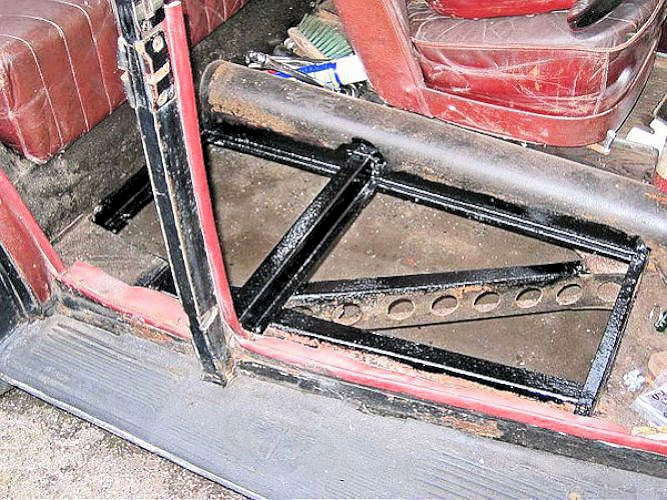
Kurust and Hammerite were all that were needed on the visible parts of the chassis.
Whilst the floorboards were out, I didn't forget to check and lubricate the hidden brake relay levers
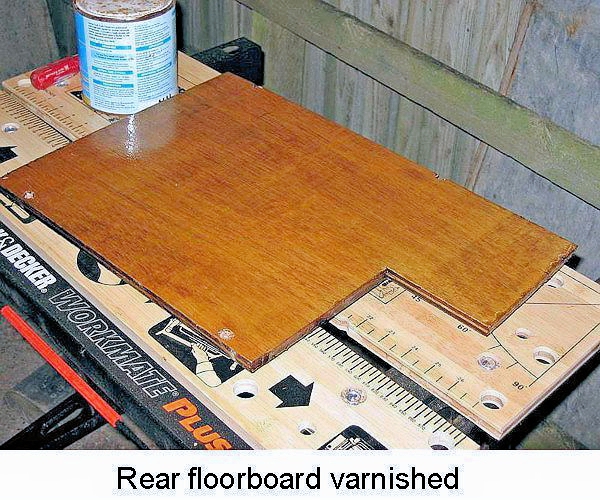
The rear floor board was quite simple and was given two coats of yacht varnish

followed by a coat of black to give it a colour and then into the car
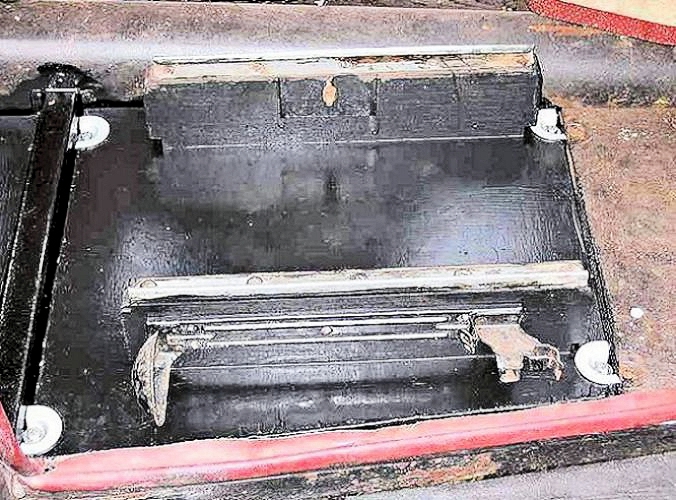
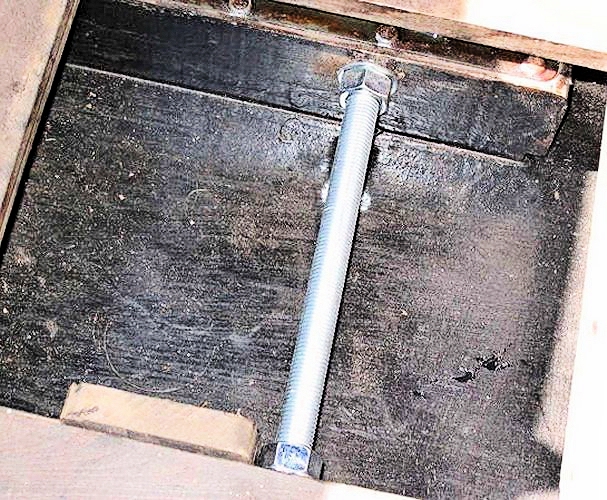
the drivers double-thickness floorboard was then dropped in and secured by special floor plates using BSF bolts into the existing chassis captive nuts.
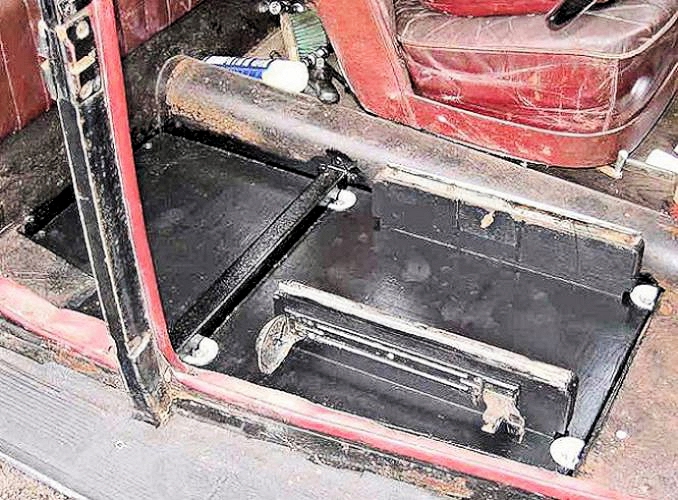
and with both floorboards back in
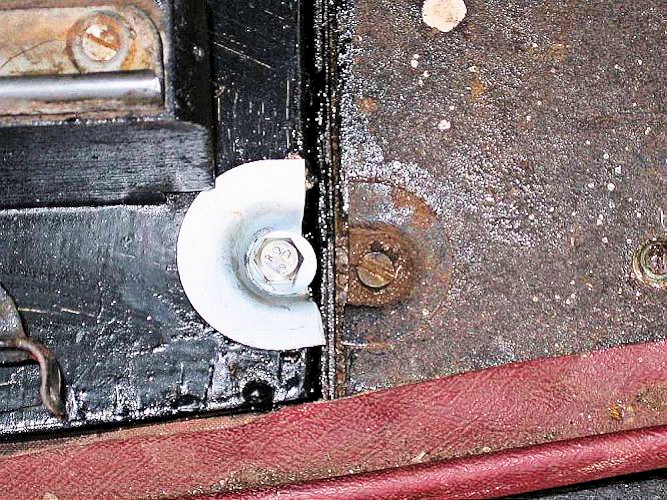
a comparison between the original and the more substantial floor plates bought from the ATDC Spares Department.
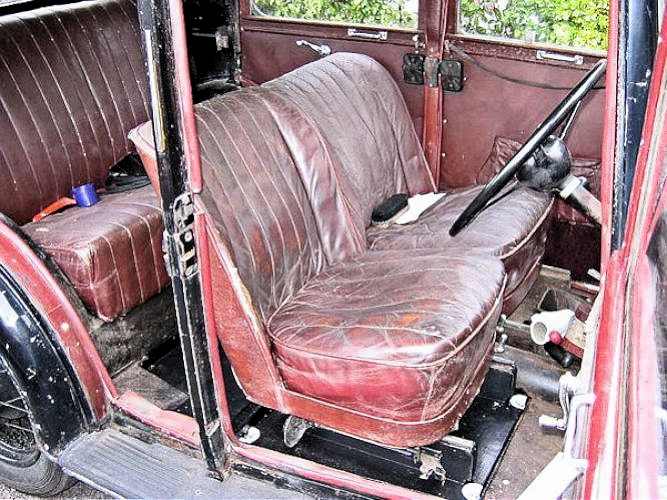
at last - the drivers seat is back in and I can go brmmmm brmmmm! again
April 2005:
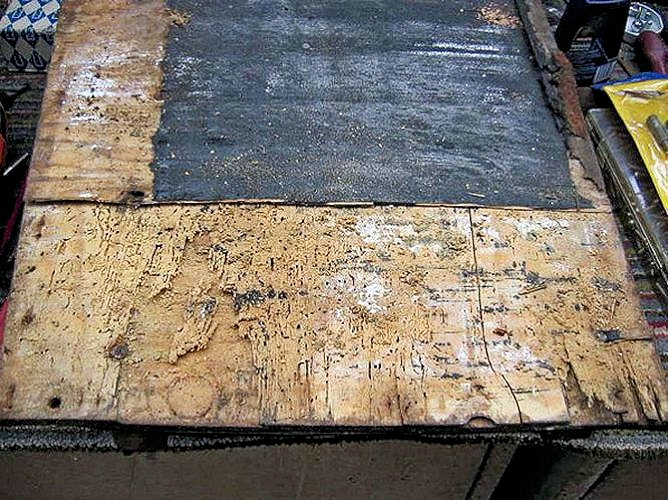
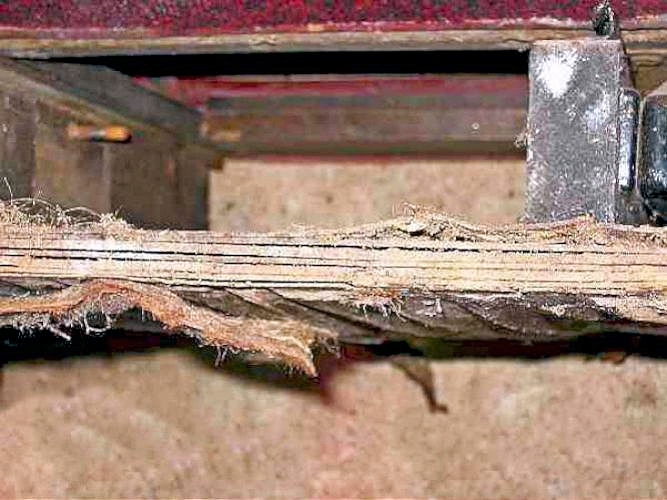
the nearside floorboards were slightly worse; this is what I saw when the plies were separated - the worms had had a feast inside!
the nearside chassis had only surface rust. It was brushed off and Kurust-ed and Hammerite-d. The straight run of the exhaust can be seen below.
May 2005:
although single thickness ply was used for the nearside floorboard, the same care was needed to ensure the seat rails ran true.
but when reassembled to the car the runners proved to be a fraction too close together as the seat stuck in the runners.
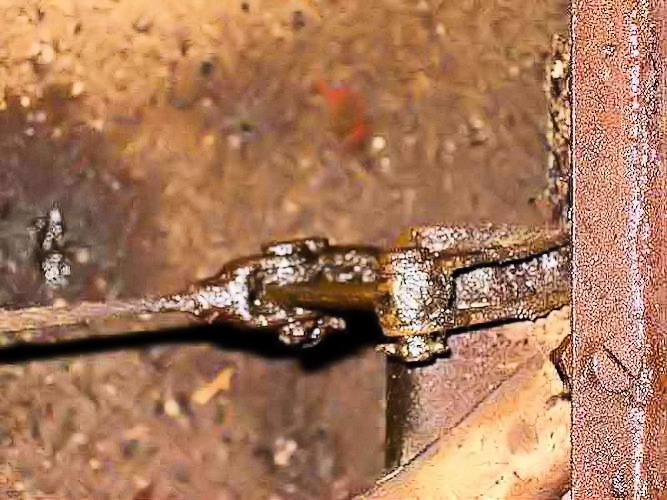
An adjustable brace was fitted to push the runners slightly apart - maybe a larger diameter than necessary, but it was effective!